Adding a Positioned Layers Container
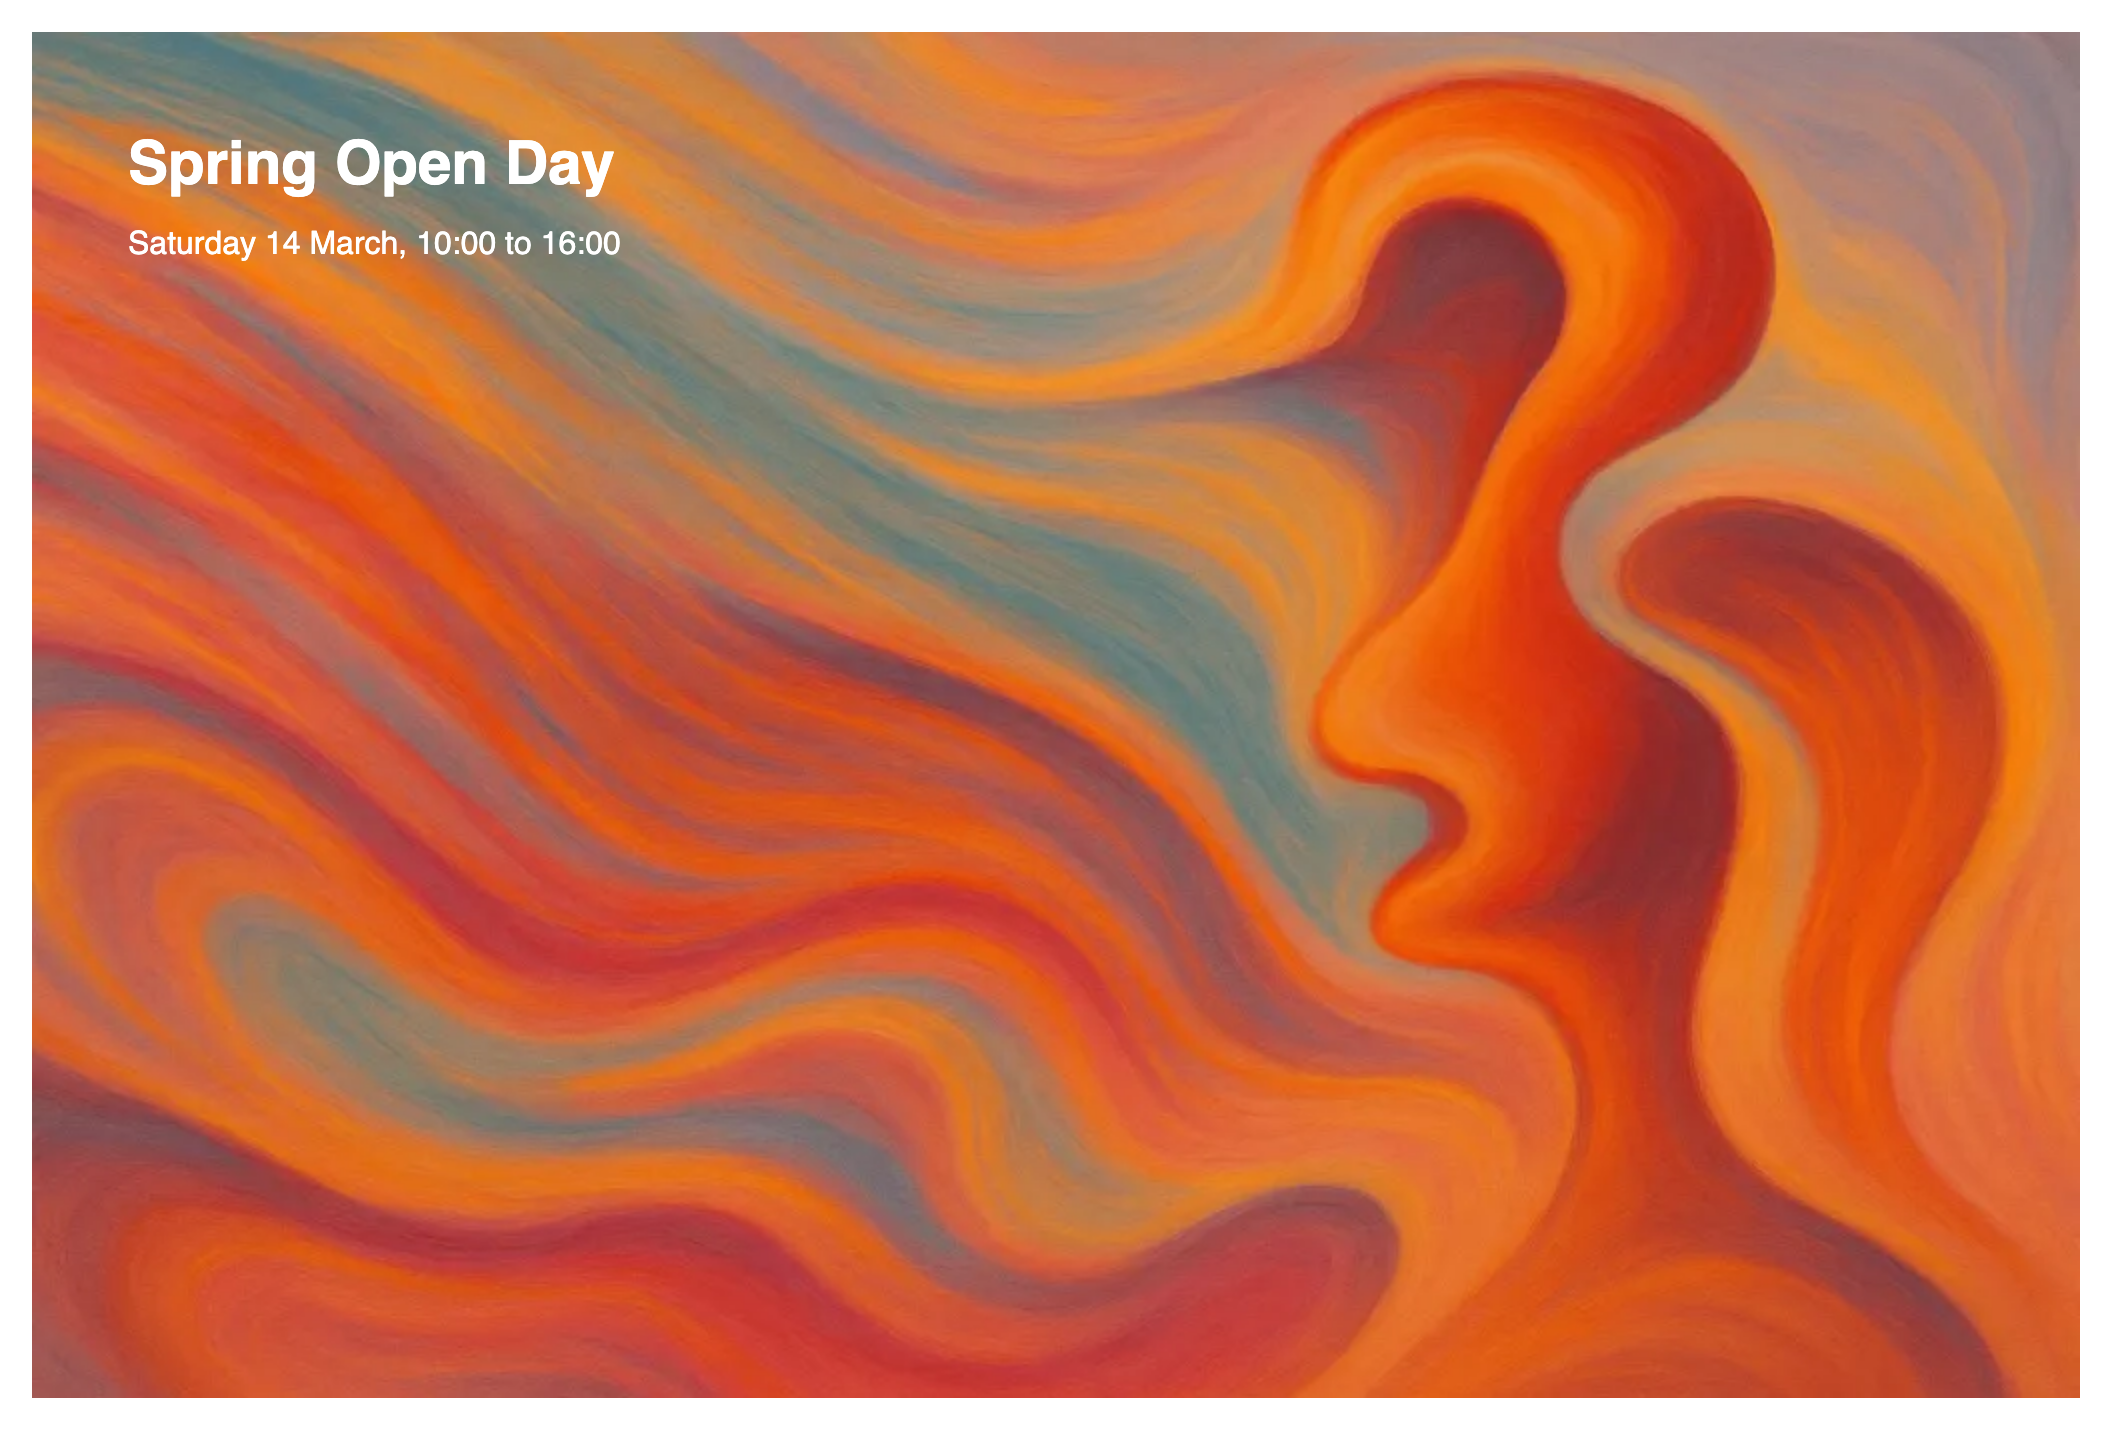
Use Positioned layers when you want elements to overlap or sit at an exact spot, which rows and columns cannot do. You get a canvas on which you drag each element where you want it, such as a headline over a photo. The example layers a white open day headline over an image. For ordinary side-by-side content, rows and columns are easier to keep tidy on phones.
Add a positioned layers container
- Hover the column and click + in its control bar, or the + in the middle of an empty column, to open the element picker.
- In the Layout tab, click Positioned layers.
- Its settings open first. Set Height so your tallest layer fits, then click Save. An empty canvas appears.
- Hover the canvas and click + in its control bar to add an element, such as Text or an Image. Each element you add becomes a layer you can position.
What you see
The canvas keeps the height you set, and each layer sits where you placed it, on top of or under the others. Visitors see the composition as it looks in the editor. Positions are stored as a share of the canvas, so a layer keeps its place when the canvas gets narrower. Text keeps its size unless you switch on Responsive.
Set up your positioned layers
Open the settings from More > Settings in the Positioned layers control bar.
| Setting | What it does | Default |
|---|---|---|
| Width | Canvas width, such as 100% or 600px | 100% |
| Height | Canvas height in pixels | 500 |
| Responsive | Scales the canvas height and the text with the canvas width, so the composition keeps its proportions on small screens | Off |
Position layers
- Select: click a layer. Handles appear on its corners and edges.
- Move: drag the layer by its name in its control bar, such as Text or Image. Layers stay inside the canvas.
- Resize: drag a handle of the selected layer.
- Add at a spot: double-click an empty part of the canvas. The element picker opens, and the new element lands where you clicked.
Each layer's More menu has four extra items. 100% width and 100% height stretch the layer across the canvas. Bring forward and Send backward move it above or below the other layers.
If you don't see it
- A layer does not move when you drag it. Layers only move by the handle with their name in the control bar. Hover the layer and drag that handle.
- A layer hides behind another. It sits lower in the stack. Open the layer's More menu and choose Bring forward.
- Layers overlap or spill over on phones. Responsive is off, so the canvas height and text keep their size. Switch on Responsive in the Positioned layers settings.
- Positioned layers is missing from the picker inside a canvas. A canvas cannot hold another canvas. Add the new Positioned layers element to a column instead.
- Positioned layers is missing from the picker everywhere. Your DXPR Builder user profile leaves it out. An administrator ticks Layers under Elements in your profile at
/admin/dxpr_studio/dxpr_builder/profile.
What's next?
- Sections: give the area around the canvas a background colour or image.
- Nesting: combine layers with rows and columns in more complex layouts.
- Animation tab: let each layer appear with its own entrance effect.