Link to sections and reuse styles with classes
Give a section an HTML ID so a button can jump to it. Add HTML classes to hide an element on phones, to set spacing per screen size, or to reuse a look your theme defines. You find both fields at the bottom of the General panel of every element. A class keeps a look consistent: when its CSS rule changes, every element with that class follows.
Before you start
- Open the page in DXPR Builder; pointing at an element shows its control bar with More. New to the builder? See Your first page.
- Save in the dialog keeps a change in the editor. Save on the builder toolbar above your content stores the page and shows "Saved field".
- Use an HTML ID for a jump target. A "Book a tour" button can scroll to the booking form. A list of links at the top of a long page can lead to each part.
- Use a class for a look that repeats. Your webmaster writes the CSS once, and you add the class where you need it. The Style panel copies values into each element instead, which drifts apart over time.
- Use a class for what the Style panel cannot do, such as hiding an element on phones or changing spacing per screen size.
Recipe: a button that jumps to a section
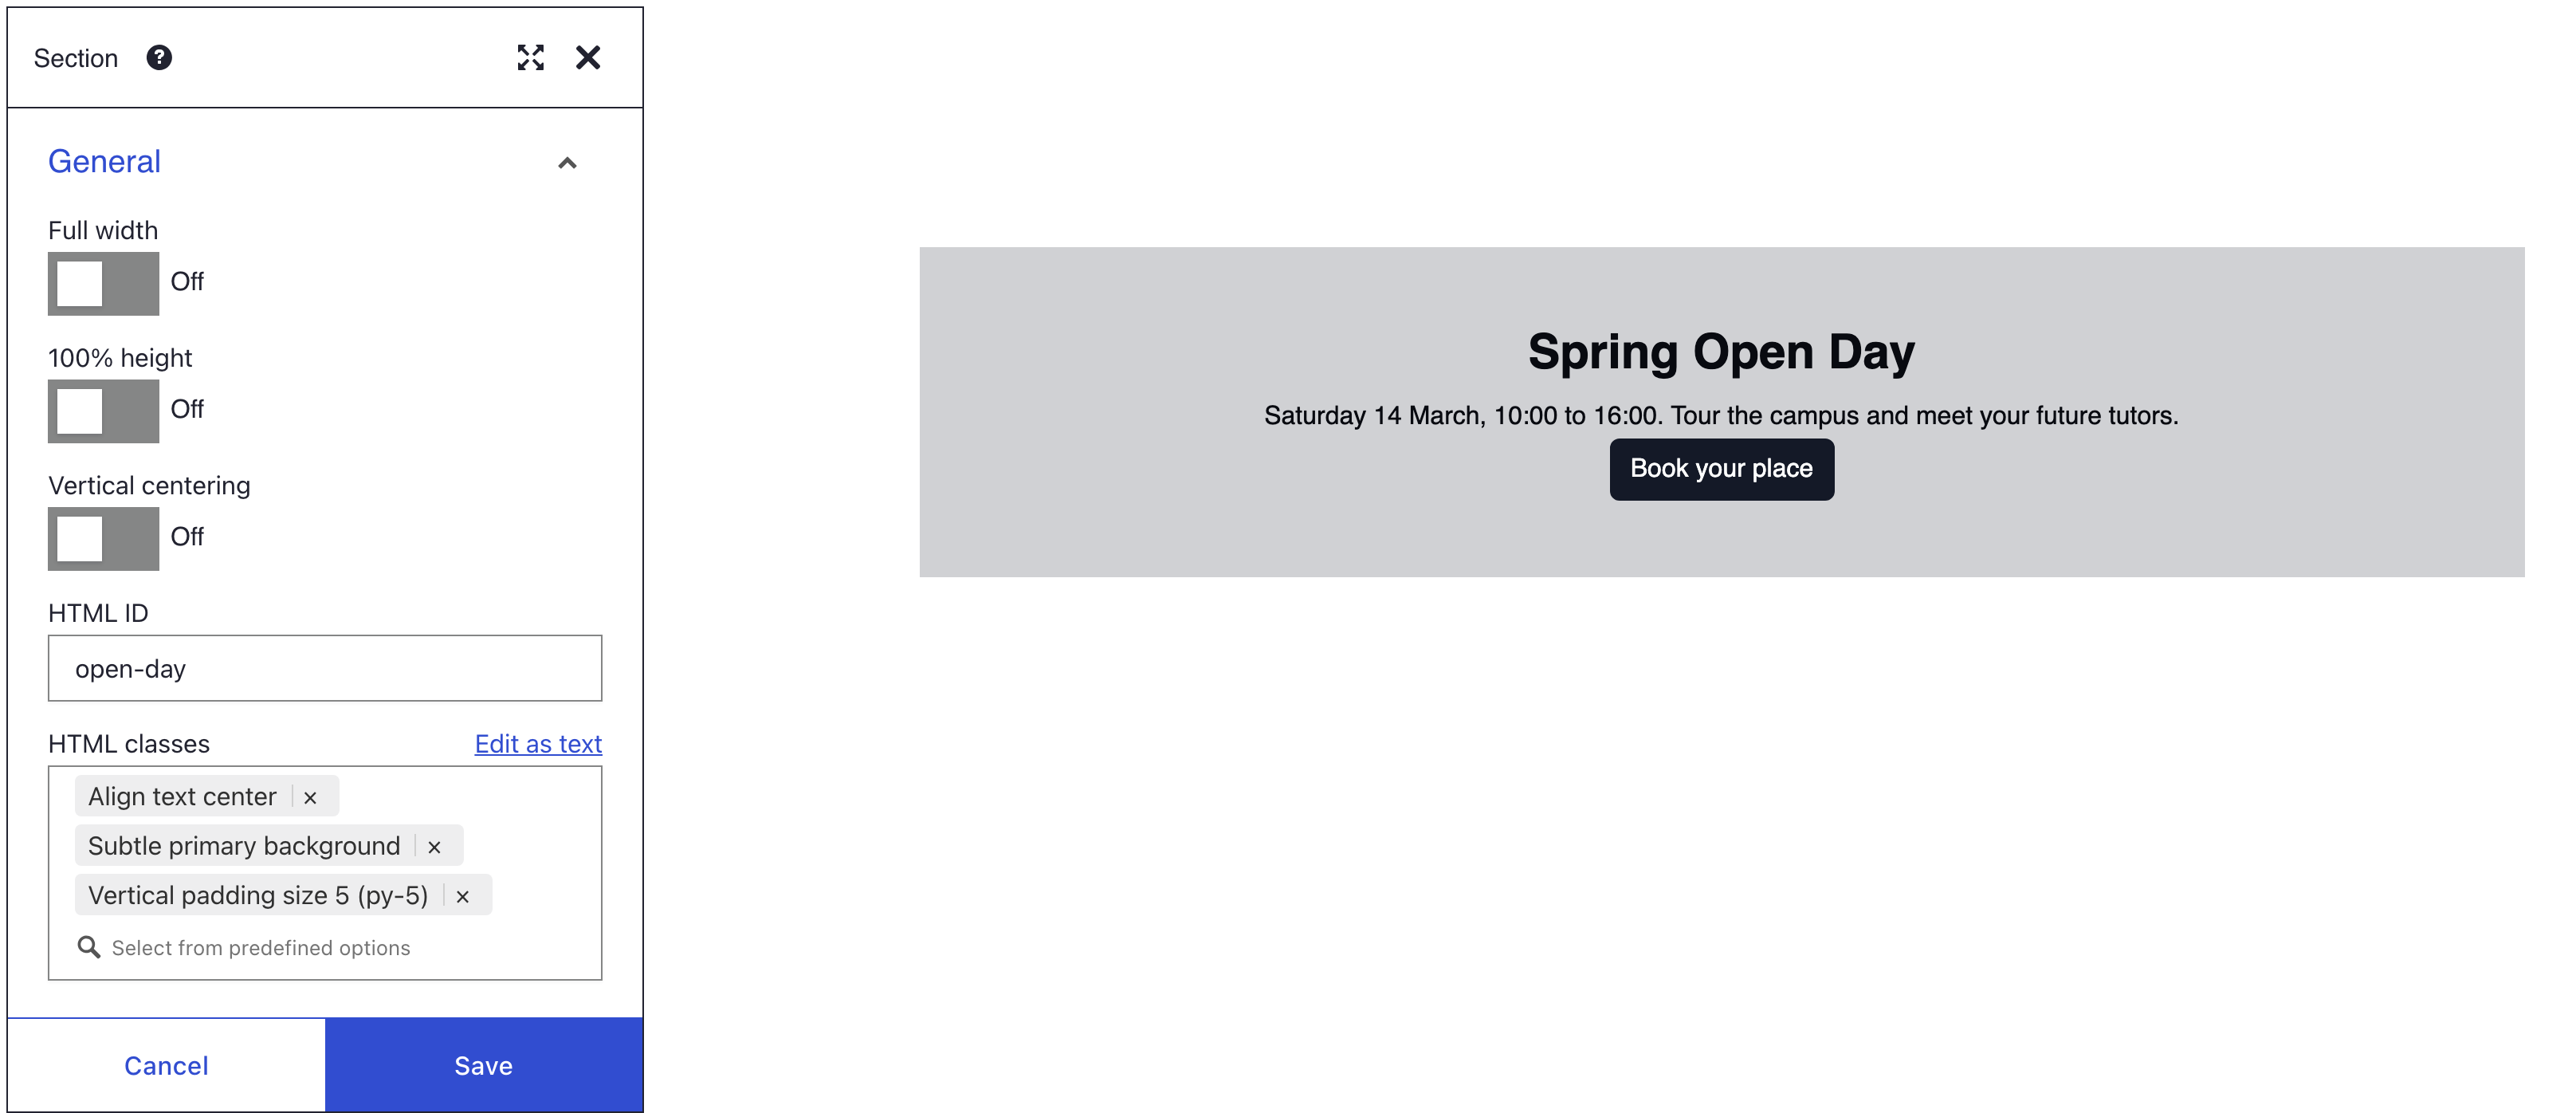
- Hover the target Section, click More, then Settings.
- In the General panel, type a short name, such as
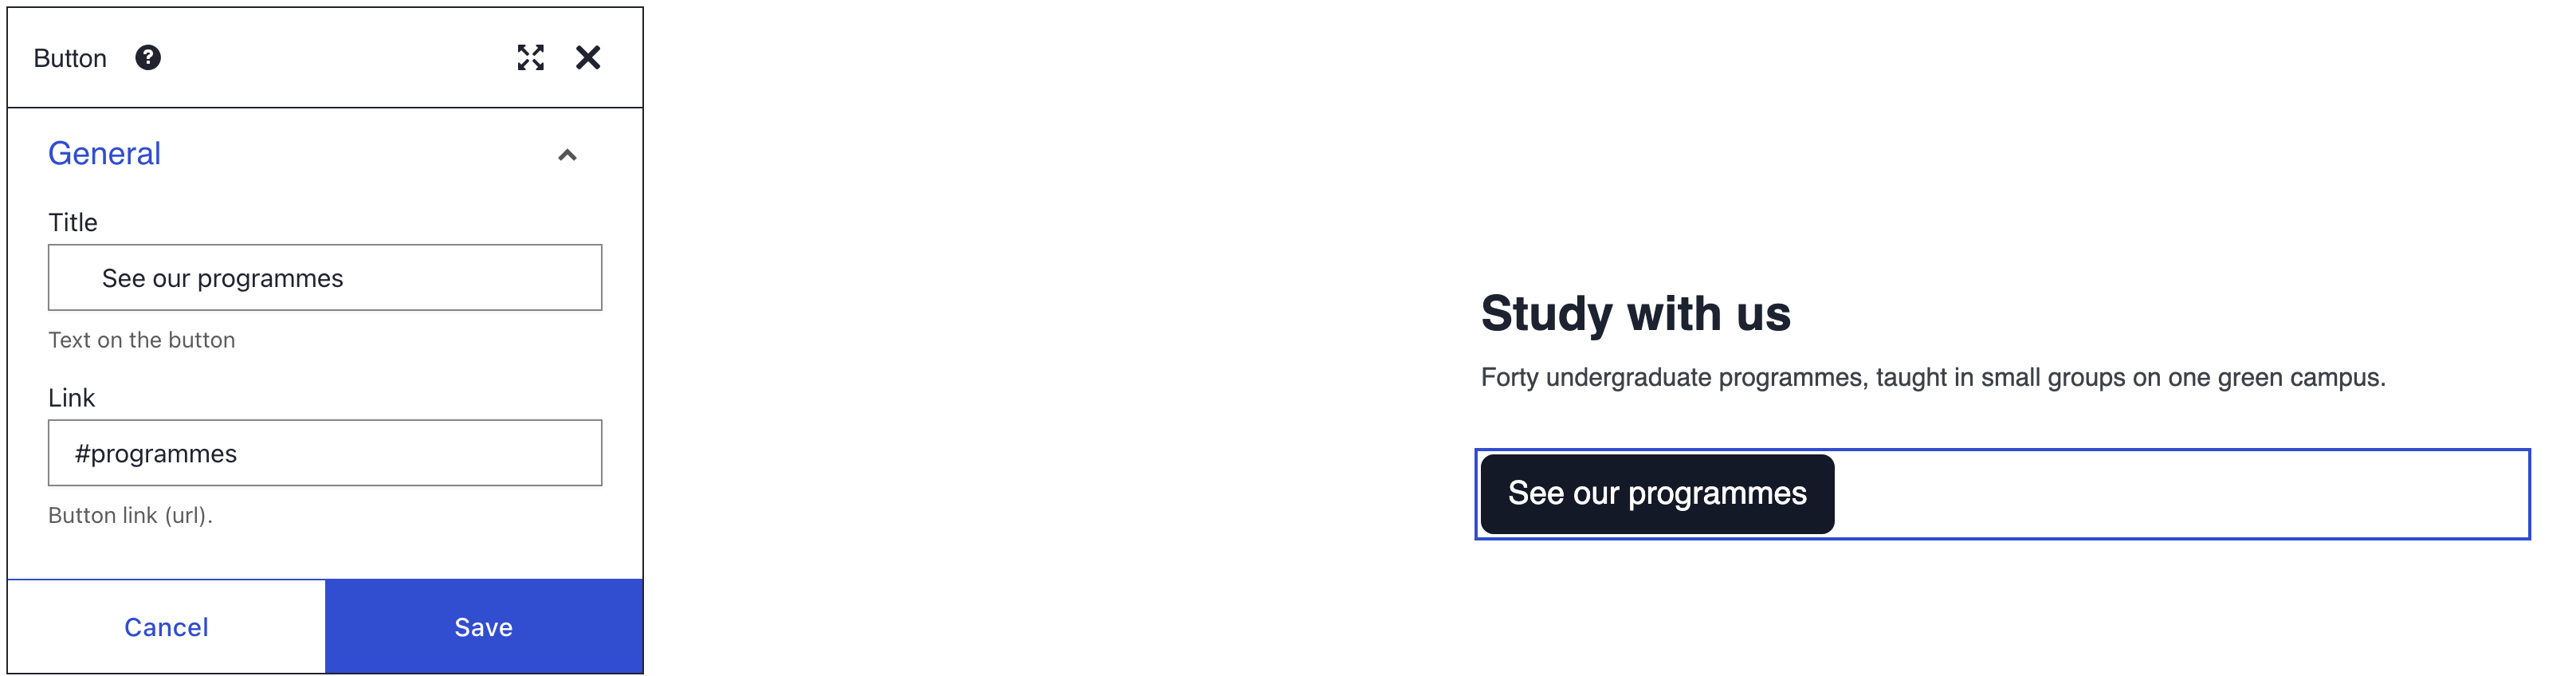
programmes, in HTML ID. Click Save. - Open the settings of the Button. In Link, type
#followed by exactly the same name:#programmes. Click Save. - Click Save on the builder toolbar.
- Choose Preview in the view menu (the eye icon) and click the button.
Test with the section further down the page than the button, so you can see the scroll. If the target sits inside a collapsible panel, a tab or a carousel slide, the link opens it first.
Recipe: hide an element on phones
- Hover the element, click More, then Settings.
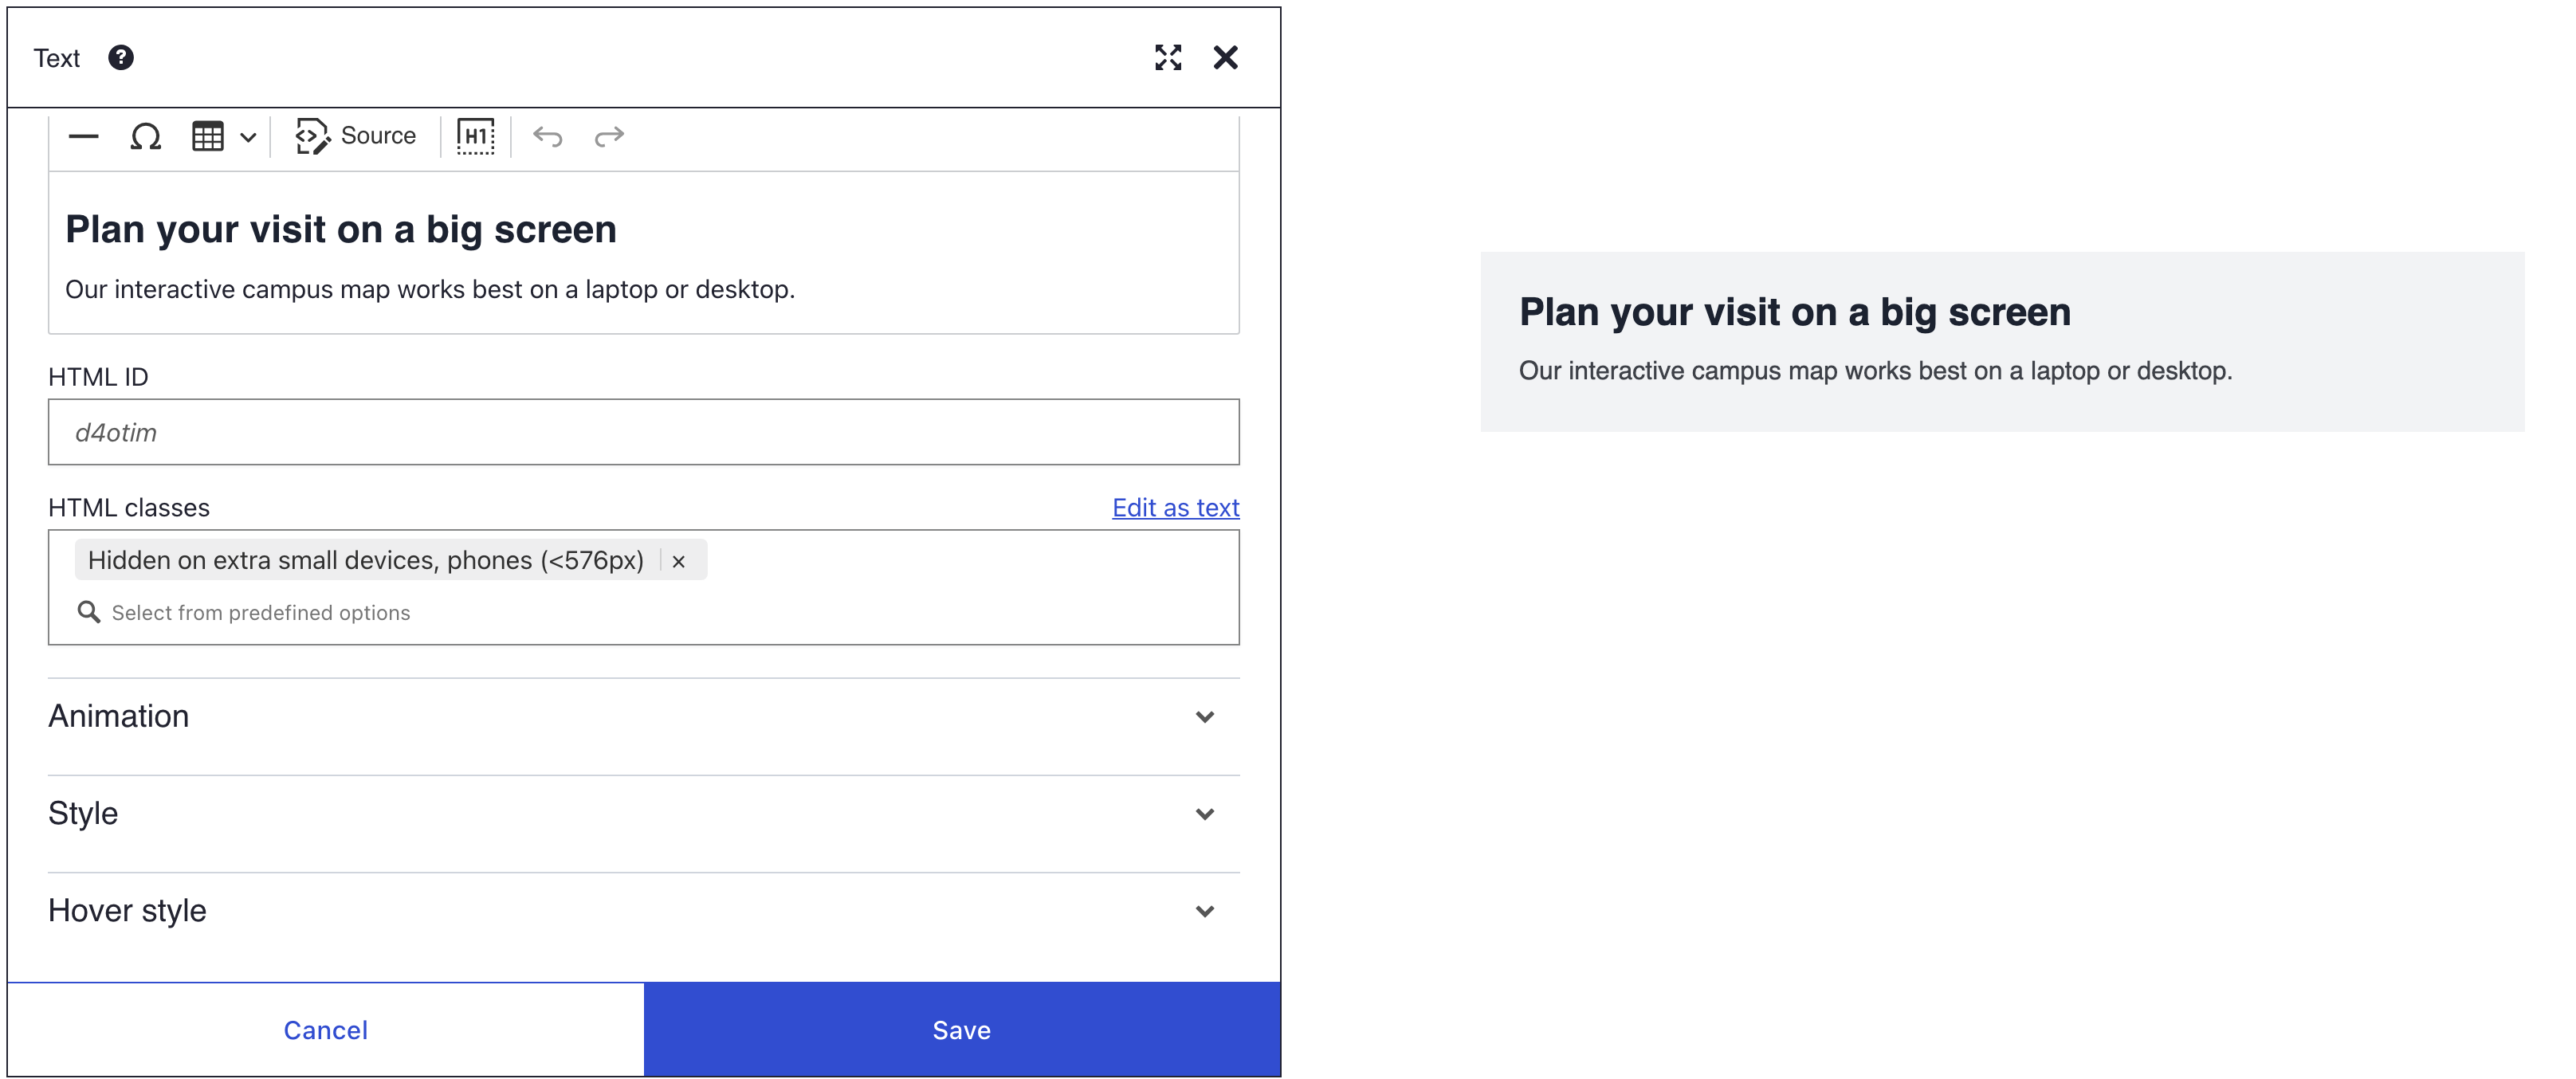
- In the General panel, click the HTML classes box.
- Pick Hidden on extra small devices, phones (<576px). It sits in the Responsive Visibility group.
- Click Save in the dialog, then Save on the toolbar.
The element now disappears on screens narrower than 576 px, in the editor too. To check it, open the page on a phone.
Recipe: type your own classes
The HTML classes box only lets you pick from its list. To type a class name, switch it to text first.
- Hover the element, click More, then Settings.
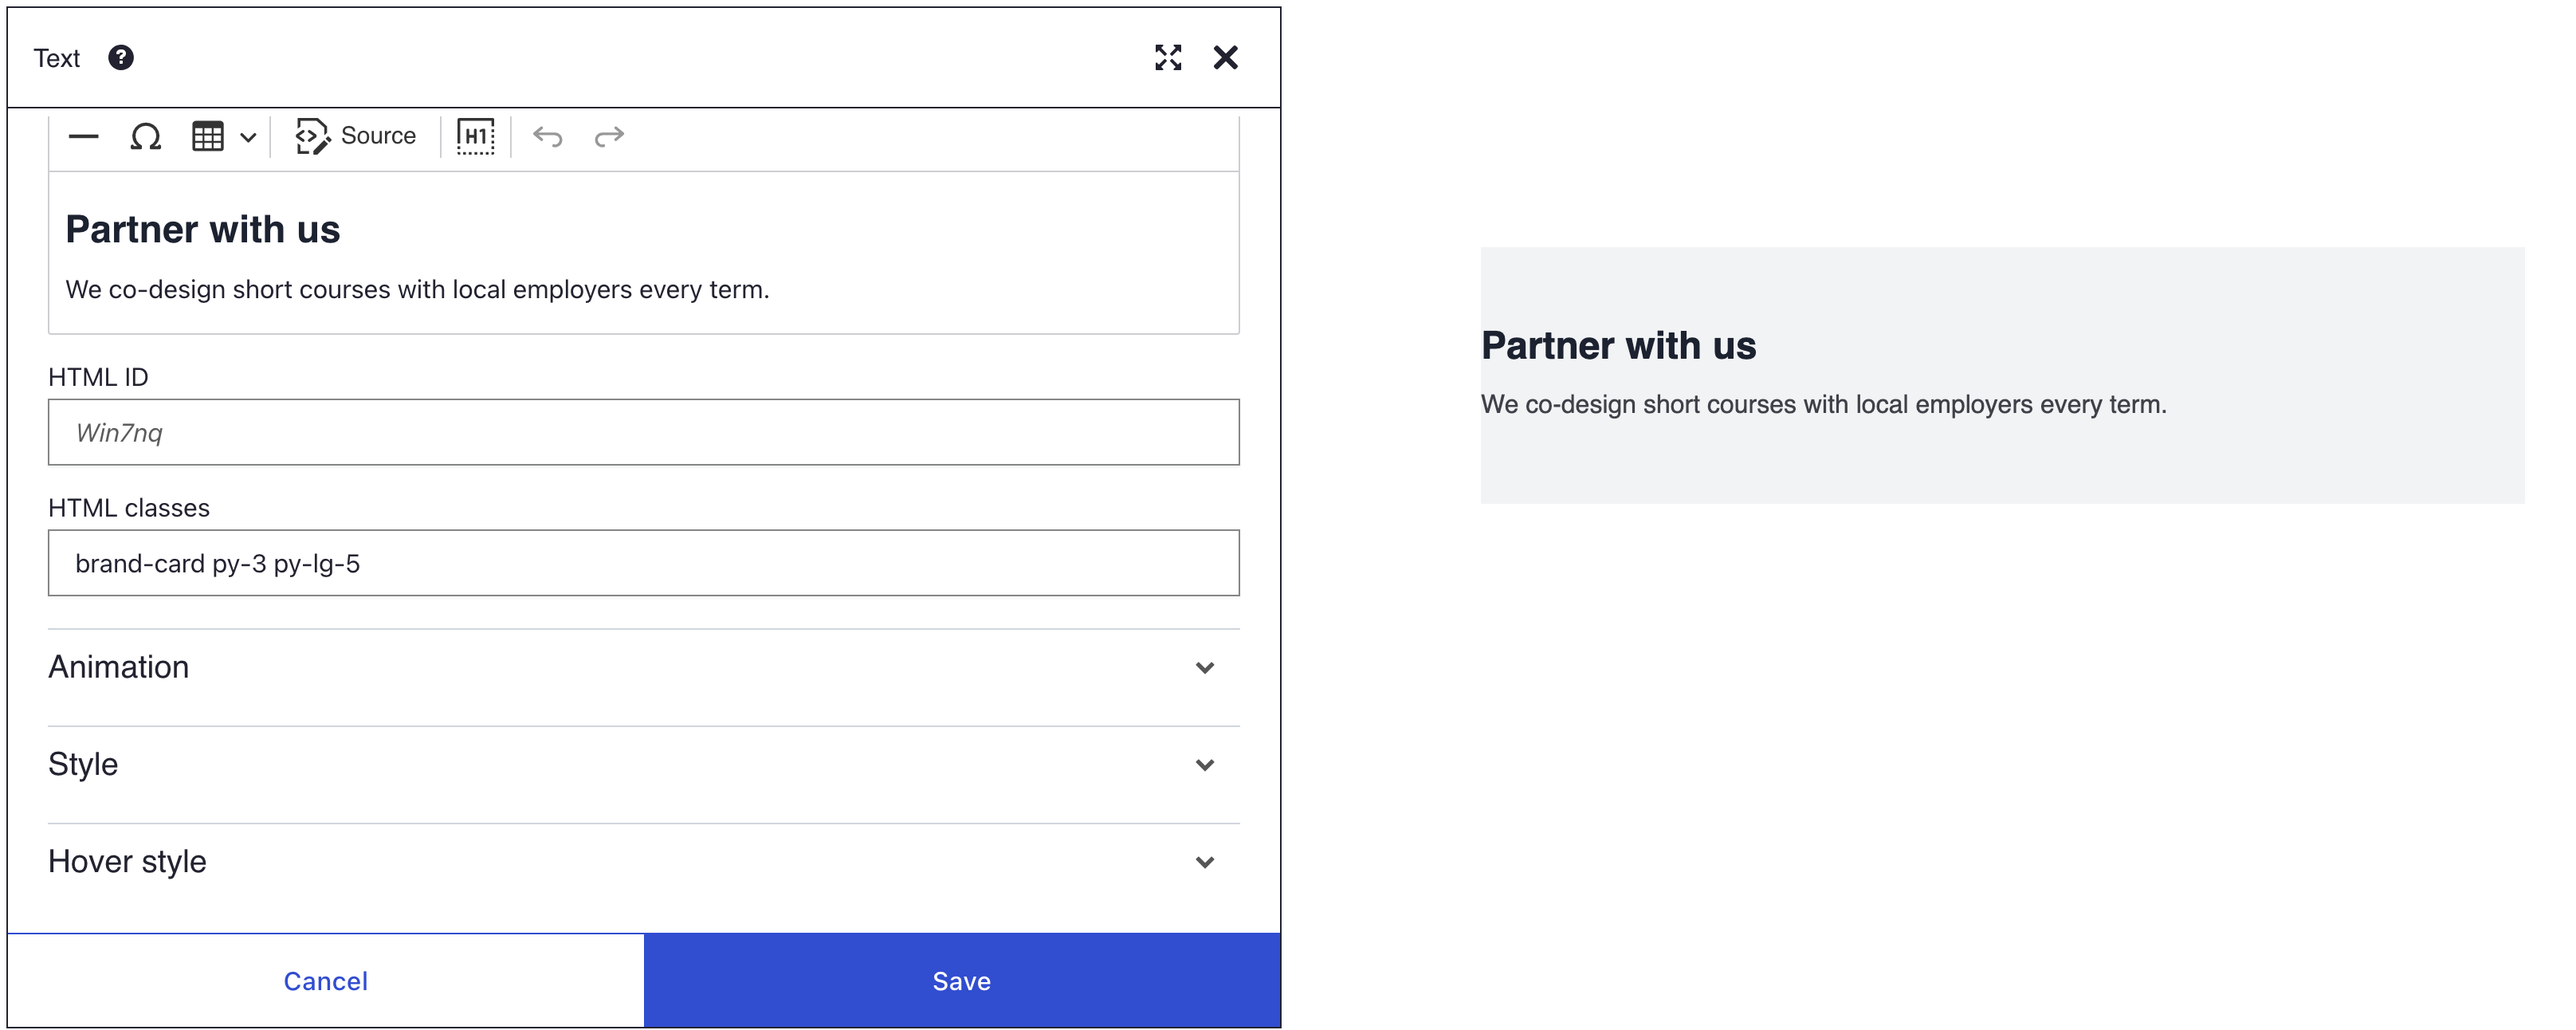
- Under HTML classes, click Edit as text. The box turns into a plain text field that lists the classes the element already has.
- Add your class names after them, separated by spaces, for example
brand-card py-3 py-lg-5. Leave out the dot:.brand-cardin your team's CSS isbrand-cardhere. - Click Save in the dialog, then Save on the toolbar.
The element takes the look your web team defined.
What you see
In Preview, the button scrolls the page smoothly to the section and leaves room for a sticky header; the address bar ends in #programmes. Below 576 px wide, the hidden element is gone. Classes you typed show as chips the next time you open the dialog, in quotes when they are not in the list, such as "brand-card".
How the fields work
HTML ID
An ID must start with a letter. After that it may hold letters, numbers, hyphens and underscores, but no spaces. A wrong ID shows an error under the field, and Save does nothing until you fix it.
If you leave the field empty, the element keeps an ID that DXPR Builder made. The empty field shows it in grey. Use each ID once per page: when two elements share one, links jump to the first.
HTML classes
The list holds shadow classes and Bootstrap 5 classes, grouped by job, such as Margins, Padding, Responsive Visibility and Rounded Corners. Your theme can add a group of its own at the end.
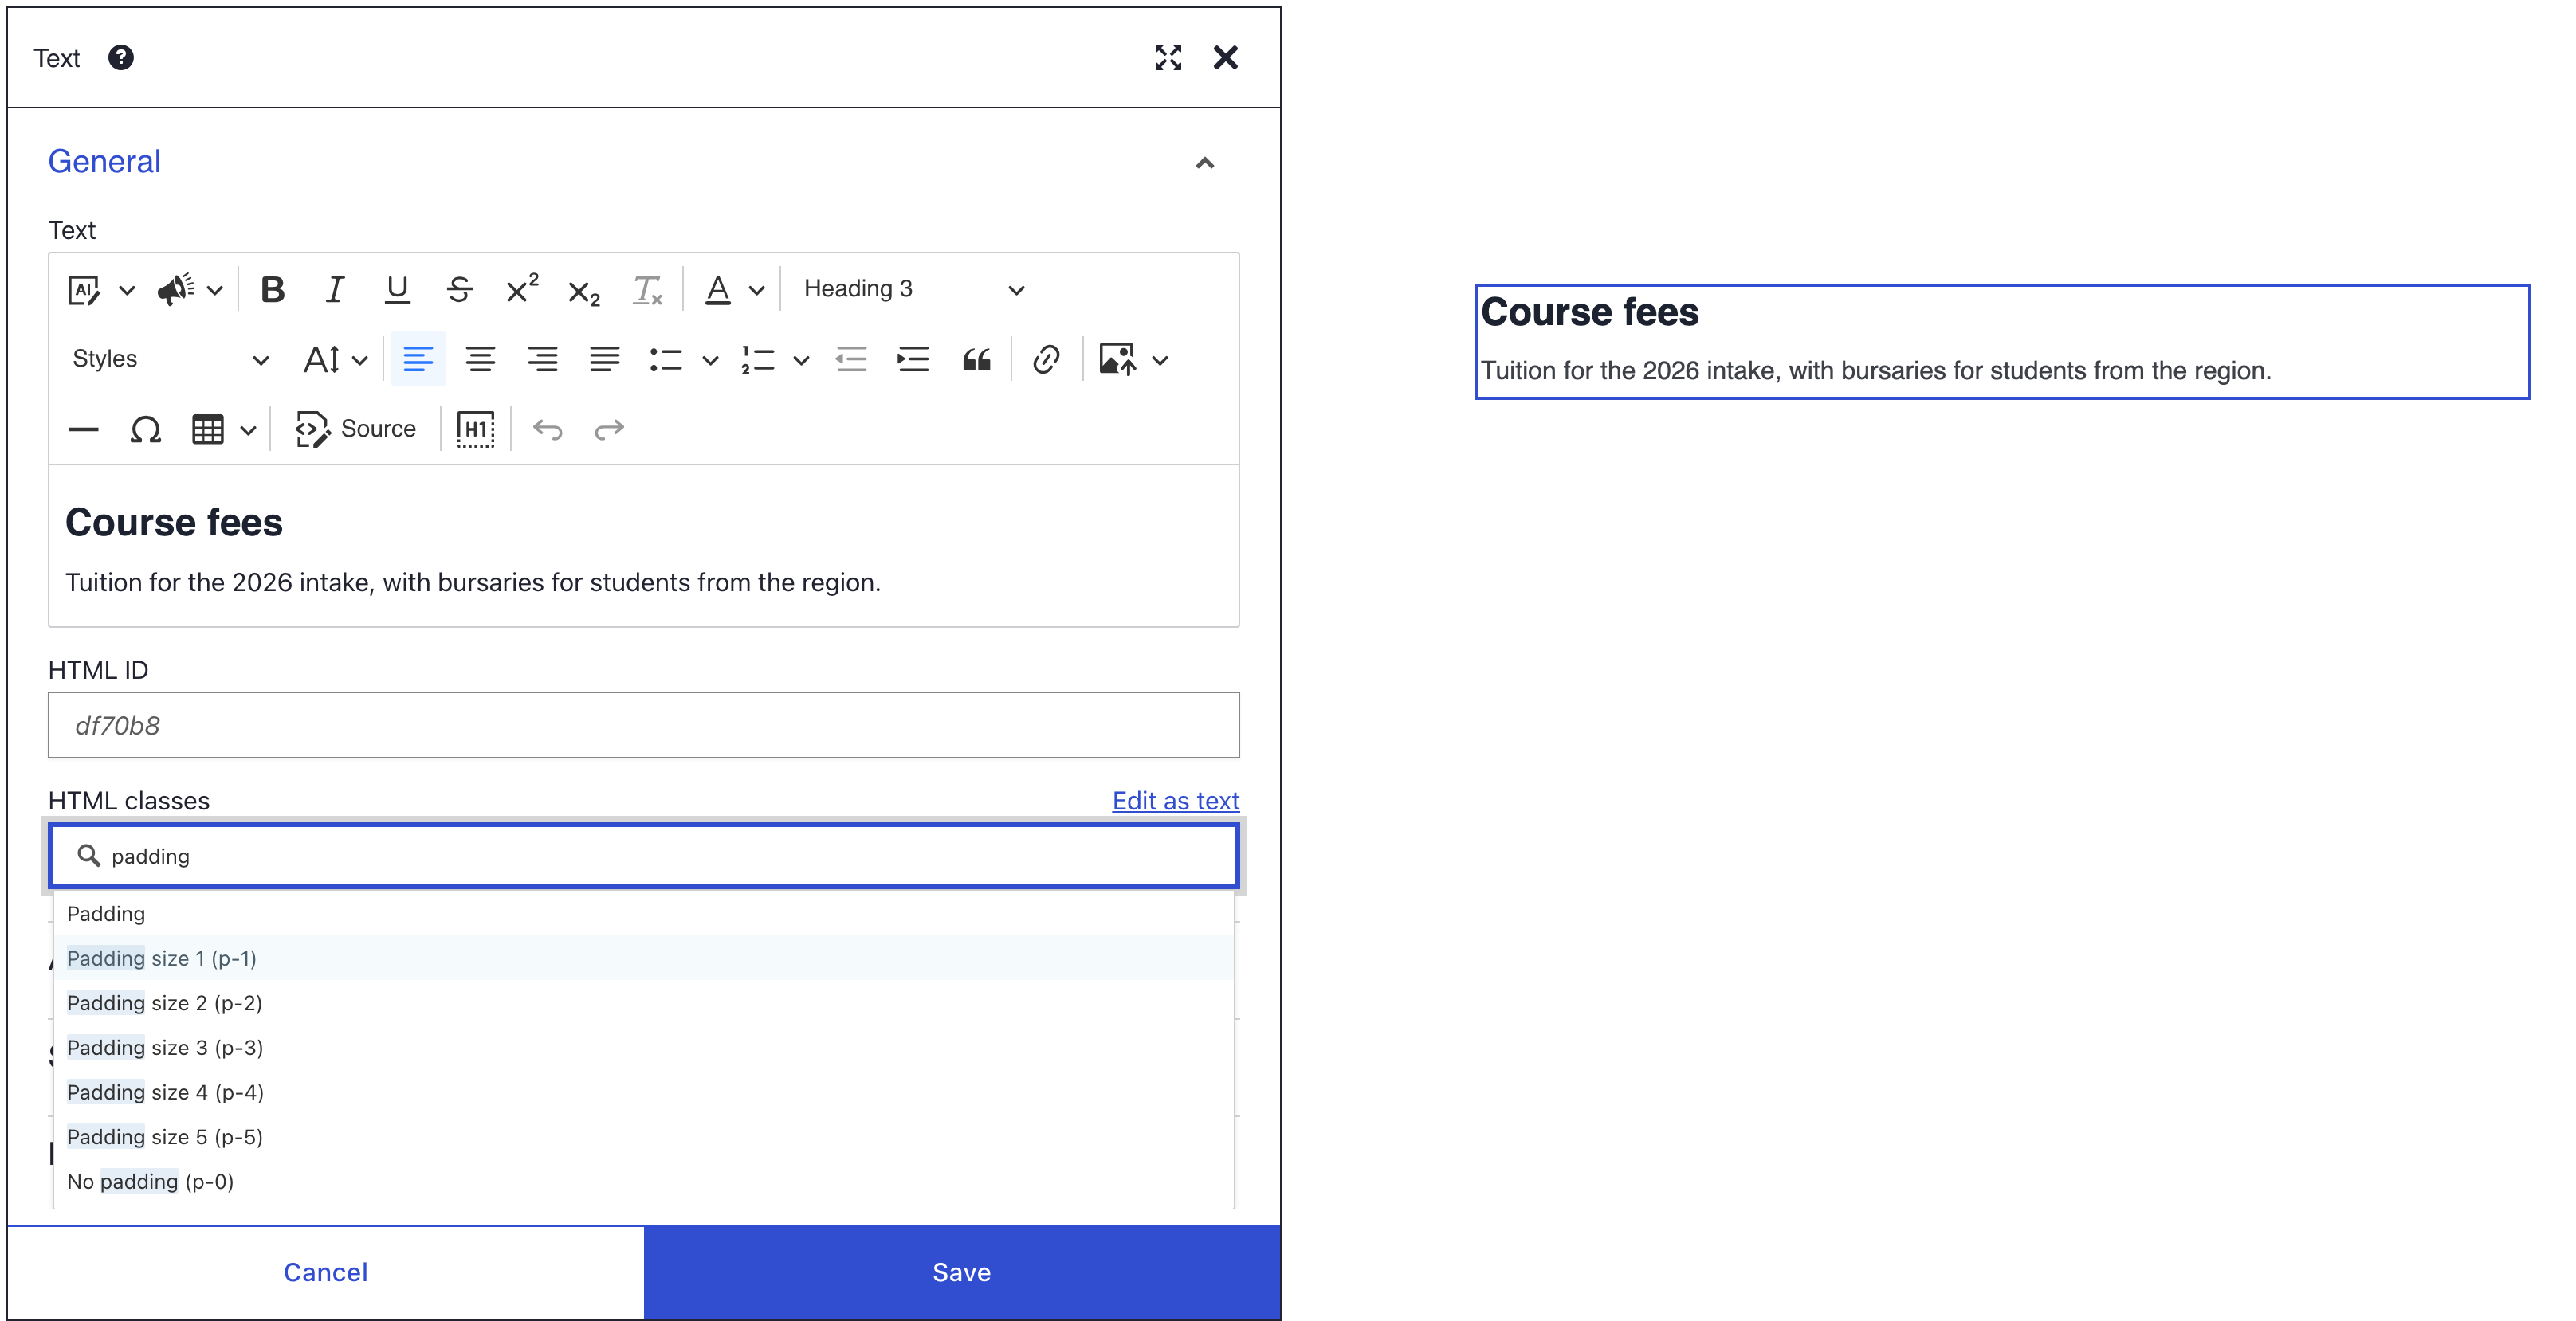
Scroll the open list, or type part of a name such as padding, py-5 or circular to narrow it. Typing only filters the list; for a class that is not in it, use Edit as text.
Bootstrap's classes only work when the page loads Bootstrap 5. It comes from your theme, or from General Settings > Bootstrap (/admin/dxpr_studio/dxpr_builder/settings), where Sideload Bootstrap files is set to Bootstrap 5.
Bootstrap's utility classes, such as the colour and spacing classes, are marked !important. They beat the Style panel on the same property. Primary background beats Background, and Top margin size 3 (mt-3) beats the top Margin.
A class with a screen size in its name applies from that width up:
| In the class name | Applies from |
|---|---|
sm |
576 px |
md |
768 px |
lg |
992 px |
xl |
1200 px |
xxl |
1400 px |
So py-3 py-lg-5 gives 16 px of padding at the top and bottom on smaller screens, and 48 px from 992 px wide.
For your theme developer
A class needs a CSS rule in the theme, for example:
.brand-card {
  background: #f4f6fb;
  border-left: 4px solid #1a4d8f;
  padding: 2rem;
}
To show the class in the HTML classes list for editors, register it in the theme's .info.yml; see Utility classes. For styles across the whole site, see Custom CSS.
If you don't see it
- Save does nothing and HTML ID says "ID must start with a letter". The ID breaks the rules above. Start it with a letter, and use only letters, numbers, hyphens and underscores.
- You cannot type a new class. The box only filters its list. Click Edit as text first.
- A class you expect is missing from the list. The list holds only the classes DXPR Builder and your theme define. Click Edit as text and type it.
- The button does not scroll at all. Link must be
#followed by exactly the HTML ID, with the same capitals. Check both fields, and test in Preview. - A class has no effect. The name is misspelt, the theme has no rule for it, or Bootstrap 5 is not loaded. Check the spelling, then ask your webmaster about the rule or Sideload Bootstrap files.
- Your team's class changes only some things. A Style panel value on the same property beats a theme class. Clear that value in the Style panel.
- The button jumps to the wrong place. Two elements share the ID, and the first one wins. Give each element its own ID.
- The section heading hides under the sticky header. DXPR Builder does not recognise your header. A webmaster sets Scroll offset selector under General Settings > Advanced Settings (
/admin/dxpr_studio/dxpr_builder/settings) to the header's CSS selector.
What's next?
- Responsive design: plan which elements to show on each screen size.