Generate an image with AI
Need a photo for an event announcement and have none? Describe it and the AI creates it in the Image element on your page. The image is stored on your site like an upload. Use this when you have no suitable photo; to change a photo you already have, see Change a photo with AI. The video fills an empty Image element next to an Open Day announcement.
Before you start
- AI is switched on, with Enable image generation and Enable page creation assistant ticked. See Turn on AI in DXPR Builder.
- The page has an Image element. A new Image element without a photo is fine.
Set up
- Point at the Image element and click More on its control bar.
- Choose Edit with AI.
- Describe the image in the box, for example "Students chatting on a sunny university lawn in autumn, natural light, photo".
- Under Image size:, choose Landscape.
- Click Generate Image.
- Click Save on the builder toolbar.
Say what the image shows, its style (photo, illustration, watercolour), the light and the framing. Enhance prompt below the box turns a short description into a detailed one.
Background images
Sections, rows, columns and most elements can get a generated background too:
- Open the element's settings with More > Settings and open Style.
- Under Background image, click AI Image Generation.
- Describe the background, choose an Image size: and click Generate Image.
- Click Save in the dialog.
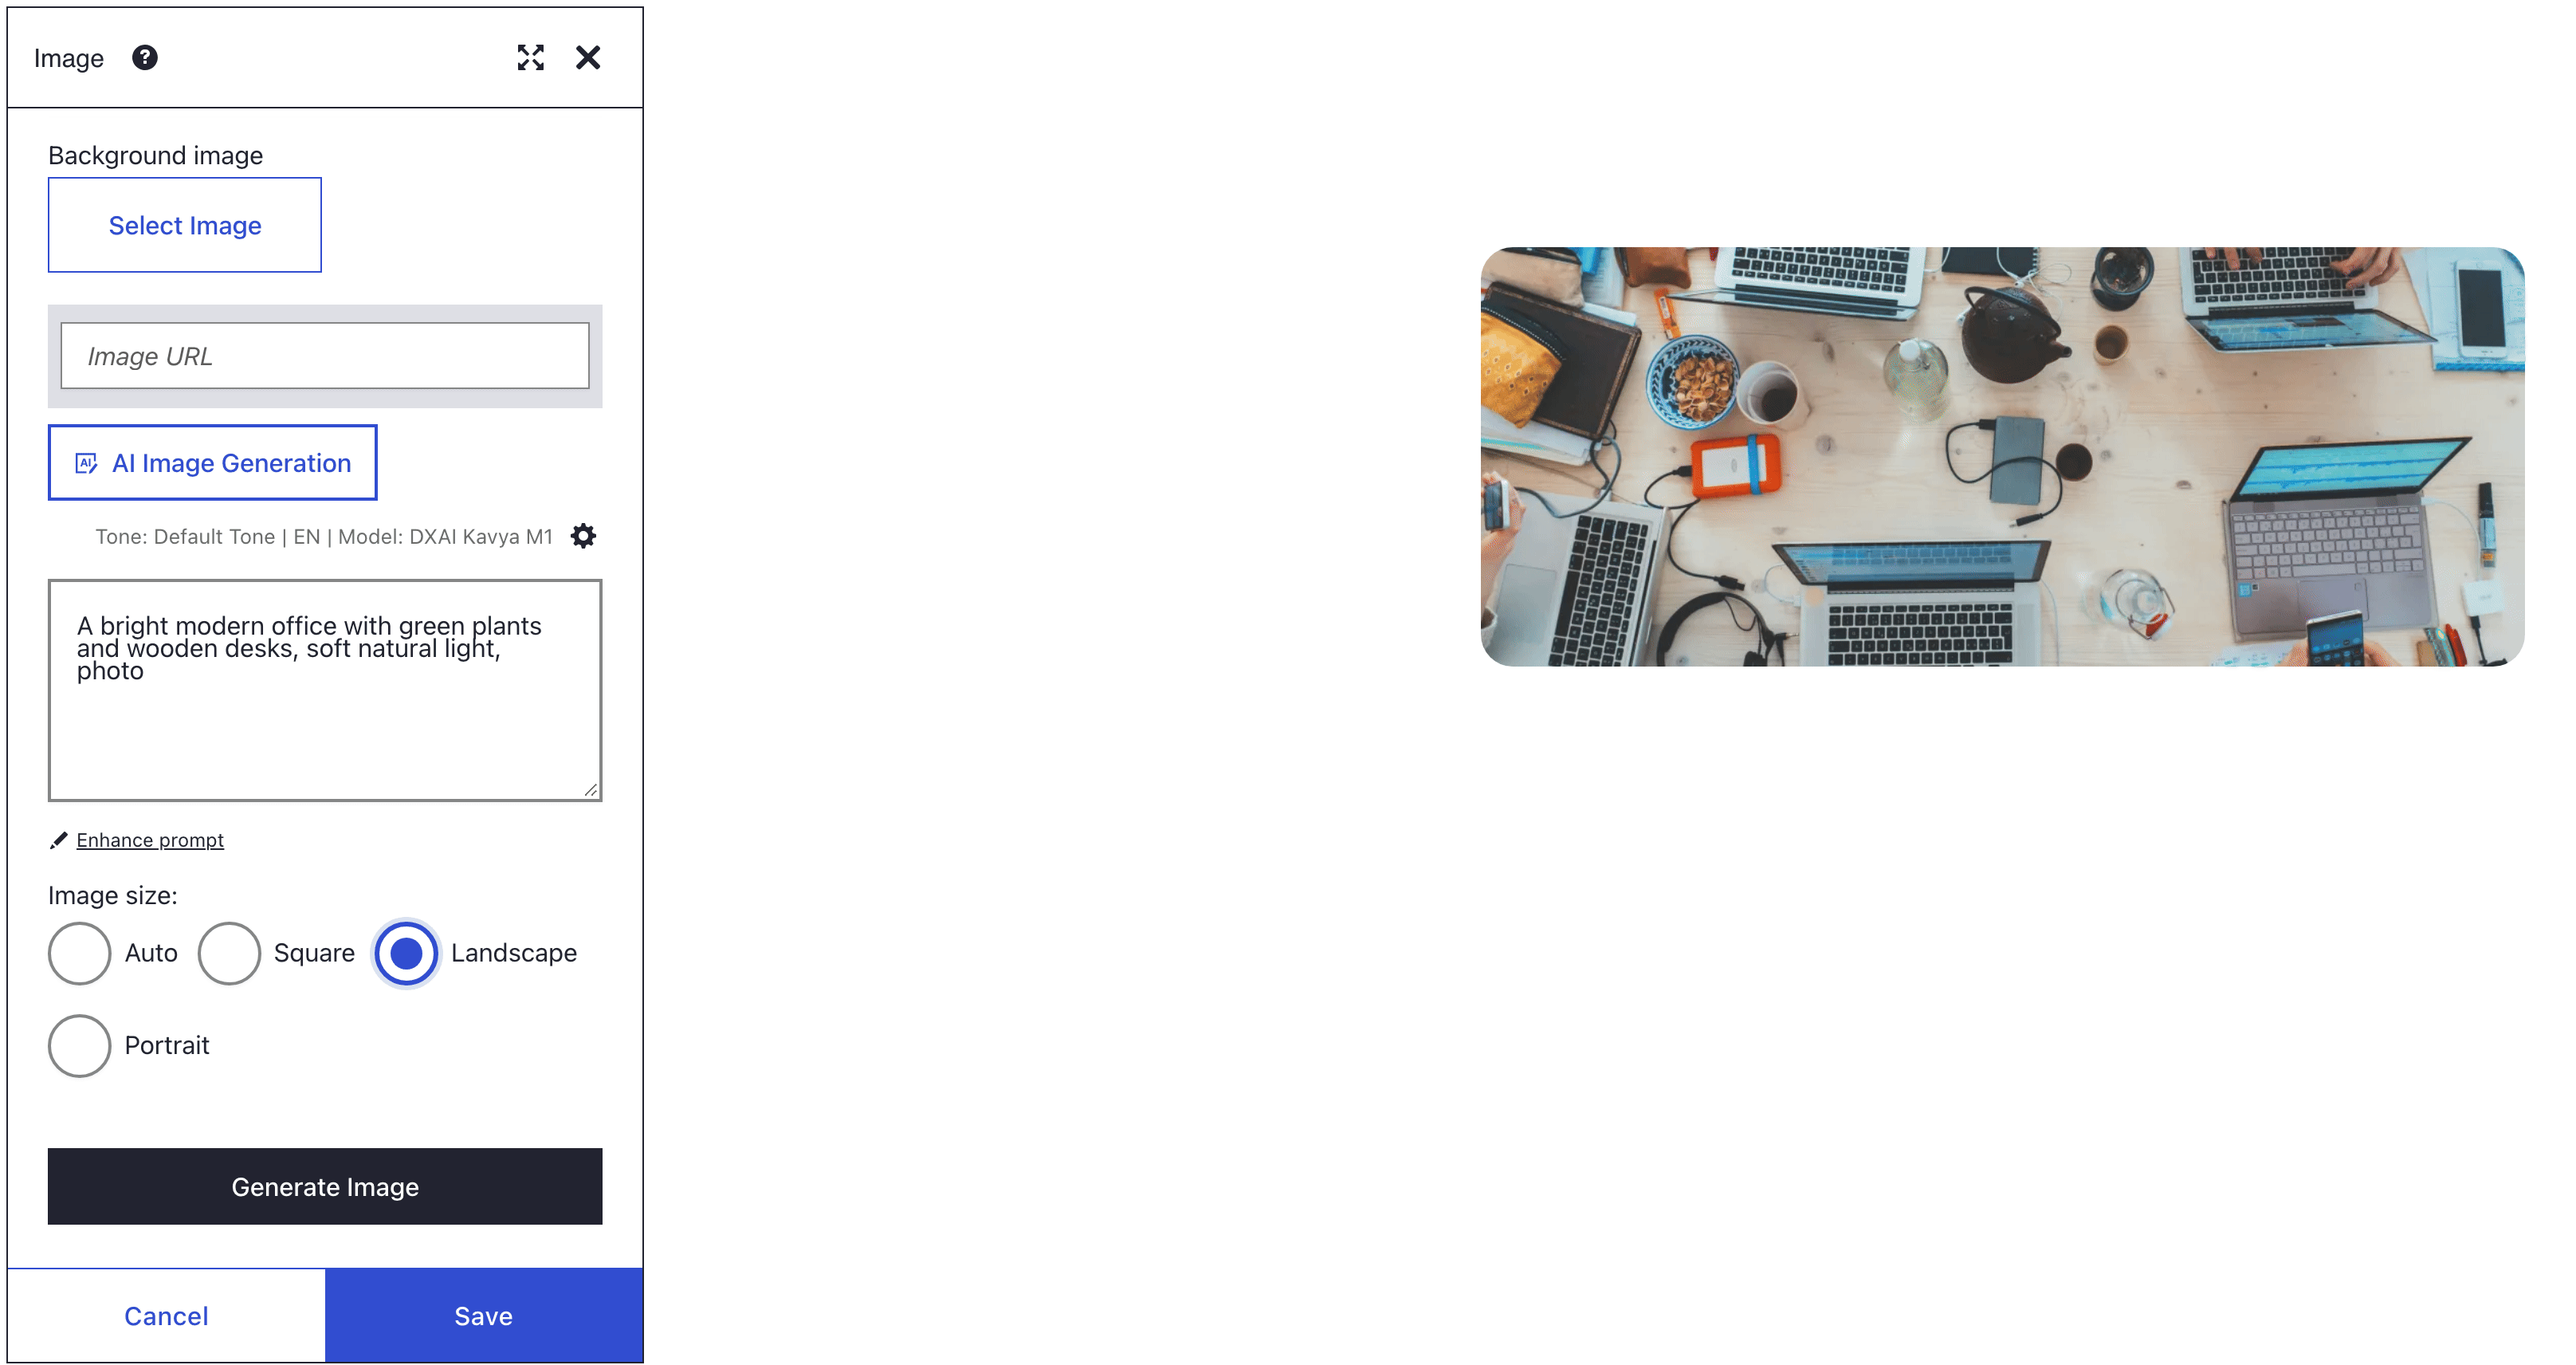
What you see
The element shows "Generating image..." while the AI works, which can take a minute. Then the new image appears. It is saved on your site as a WebP image and added to your media library, named after your description. The description also becomes the image's Alt attribute; shorten it to a plain description in the element's SEO settings, see Let AI write your alt text.
Open Edit with AI on the same image again and the box holds your last description. Edit existing image is now selected, so the AI changes this photo when you click Edit Image. To create a new one instead, choose Generate new image, change a word and click Generate Image.
Settings
| Image size | Pixels |
|---|---|
| Auto | The model chooses |
| Square | 1024 × 1024 |
| Landscape | 1536 × 1024 |
| Portrait | 1024 × 1536 |
If you don't see the new image
- The More menu of the Image element has no Edit with AI. Enable image generation or Enable page creation assistant is off. Tick both at
/admin/dxpr_studio/dxpr_builder/ai_settings. - Edit with AI is greyed out. No AI provider is configured. Follow Turn on AI in DXPR Builder.
- The element shows "Image generation failed. Please try again." DXPR could not create the image, for example because the account is out of credits or the description breaks the content rules. Click Retry, or Cancel and change the description.
- The image is gone after reloading the page. The page was not saved. Generate again and click Save on the builder toolbar.
What's next?
- Change a photo with AI: adjust the light, the background or the style of a photo.
- Let AI write your alt text: describe the image for screen readers.
- Draft a page with AI: let the AI write the page around it.