Creating a Model
Starting a new model
To create a new model, navigate to the model owner's administration page and click the Add button. For example, with ECA:
- Go to Administration > Configuration > Workflow > ECA.
- Click Add ECA model.
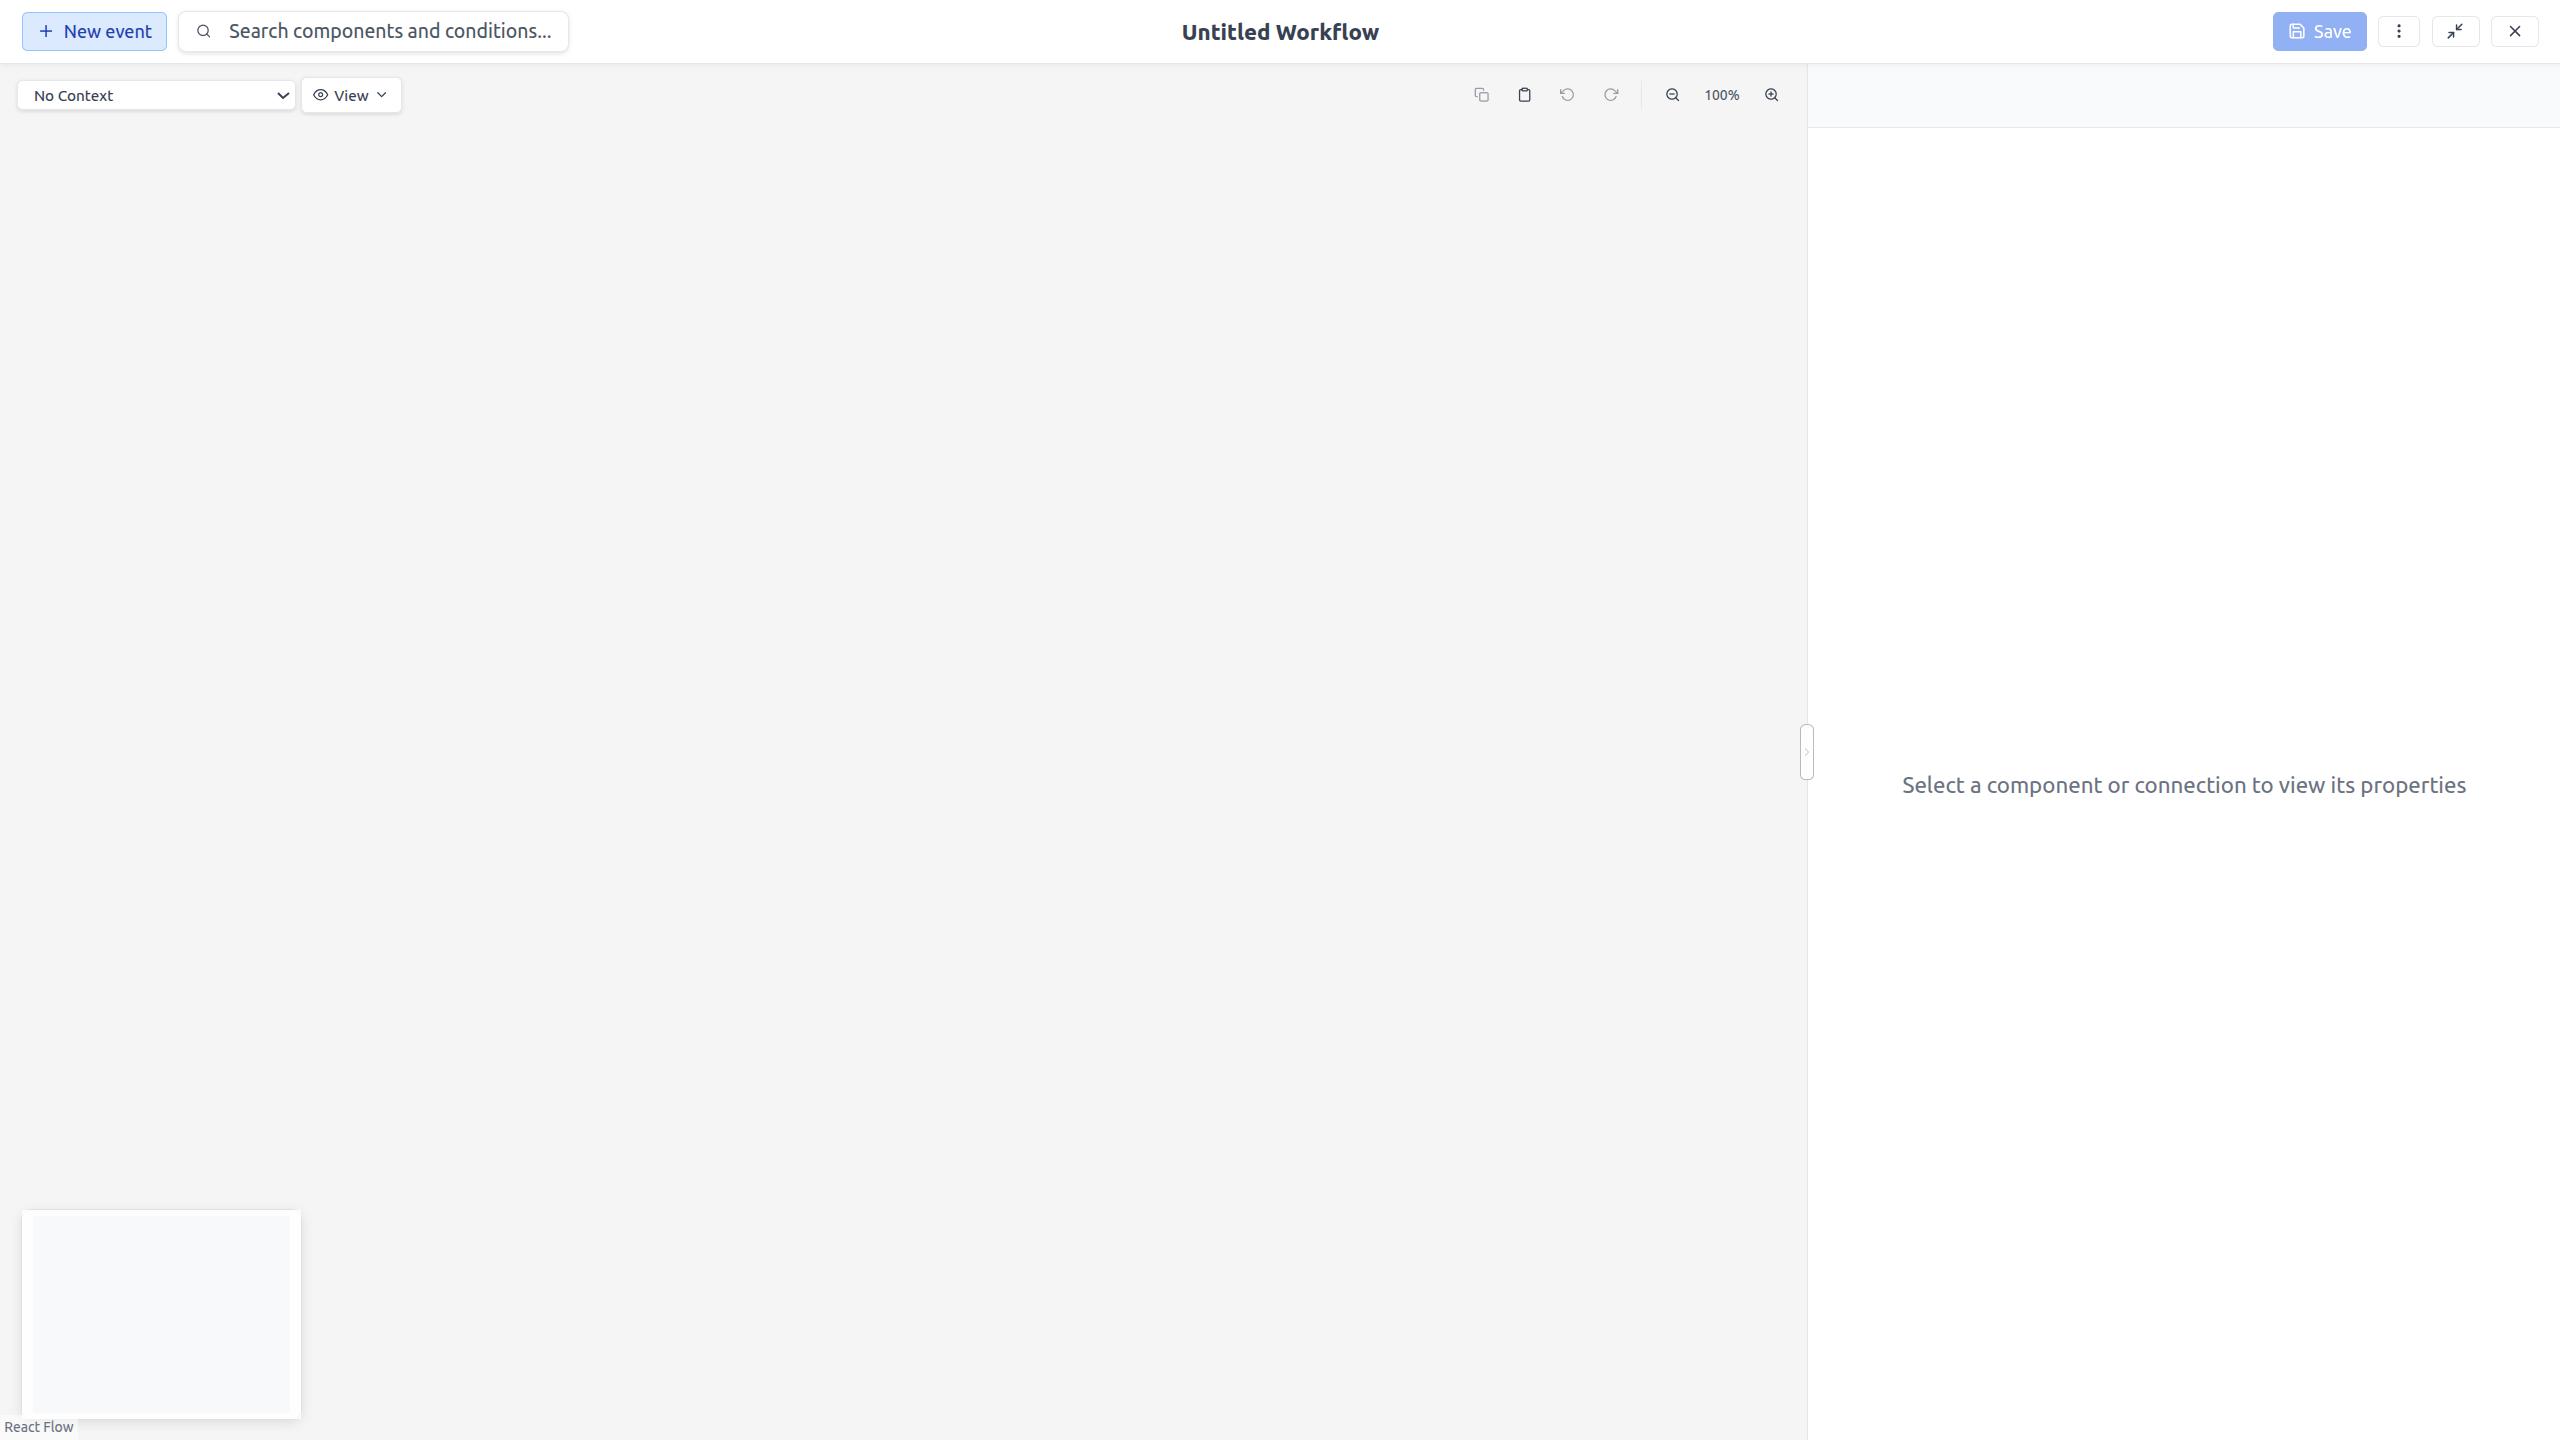
- The modeler opens with an empty canvas.
Empty canvas
A new model starts with no nodes or edges. The canvas shows a clean workspace where you can begin building your workflow.
Setting model metadata
Click the model title in the toolbar to open the Metadata Modal. The dialog renders the model configuration form that modeler_api shares across all modelers, so a model owner such as ECA can add, relabel or hide fields in it.
The fields every model needs are shown right away:
| Field | Description |
|---|---|
| Label | The human-readable name for your model. |
| Model ID | The machine name, derived from the label. It cannot be changed once the model exists. |
| Enabled | Whether the model should be active and executable. |
| Template | Mark the model as a reusable template. |
| Documentation | A text description of what the model does. |
| Tags | Comma-separated labels for organizing and filtering models. |
The Recipe export section is collapsed by default. Its fields only matter when the model is exported as a recipe:
| Field | Description |
|---|---|
| Summary | A one-line description used for an exported recipe; derived from the documentation when left empty. |
| Included recipes | Recipes an exported recipe includes, one per line. |
| Additional config to export | Extra config object names to ship with an exported recipe, one per line. |
| Additional required modules | Machine names of modules an exported recipe requires beyond those the model depends on, one per line. |
| Config actions | Config actions applied by an exported recipe, as YAML. |
The Advanced section is collapsed by default as well, holding the fields that are rarely touched once a model exists:
| Field | Description |
|---|---|
| Version | Semantic version number (e.g., 1.0.0). |
| Storage of raw data | Whether and where the canvas layout is stored. Leave on Default to follow the system setting. |
| Changelog | Notes about changes in this version. |
Tip
Set the label and documentation early -- it helps you identify models in the administration list.
Adding your first event
Every workflow needs at least one event (start node) to define what triggers it. There are two ways to add an event:
Click the + Event button in the toolbar. A popup appears with all available event types. Select one to place it on the canvas.
Building from there
Once you have an event on the canvas, you can build the rest of your workflow:
- Add actions: Hover over the event and use the quick-add + button.
- Add conditions: Hover over edges and use the quick-add + button. Alternatively, select a condition from a node's + button for condition-first authoring (creates a placeholder node with the condition pre-attached).
- Configure each component: Click a node to open the Property Panel.
See Editing a Model for the full editing guide.