Getting started
This tutorial sets up the Article content type so an editor can create an article from a Word file. It takes about ten minutes. You need LibreOffice installed, see Installation. The steps are the same on 2.0.x, with the differences that Versions lists.
You also need a document to convert. Any document with a heading, a list, a table and a picture shows most of the module. The repository has small ones in the folder tests/fixtures.
Set up the Article content type
1. Enable the module and check LibreOffice
Enable DOC to HTML, then open Configuration > Content authoring > DOC to HTML > LibreOffice Settings (/admin/config/content/doc_to_html/libreoffice-settings).
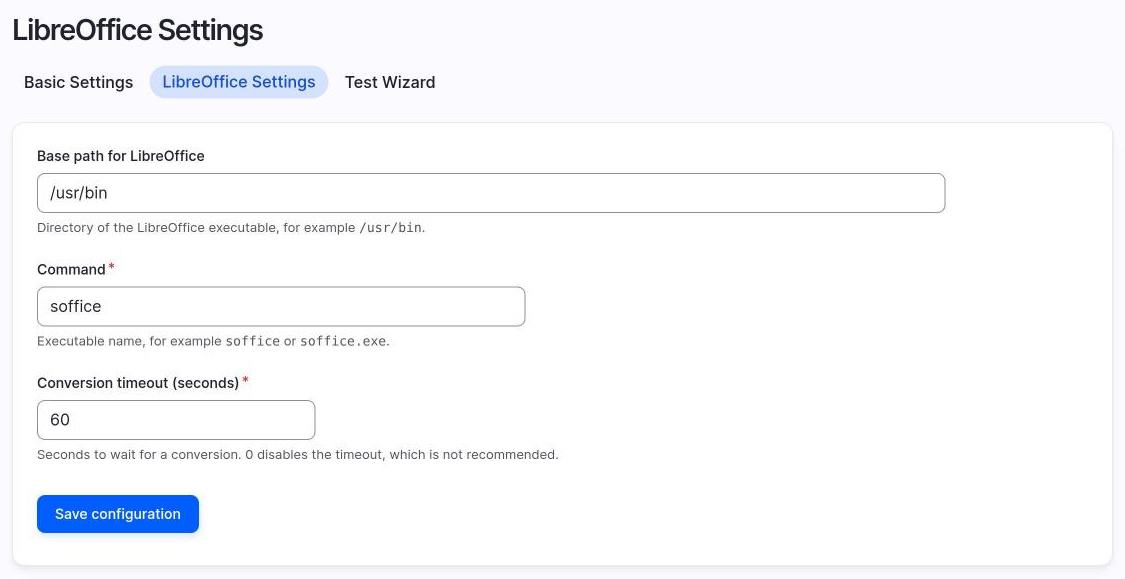
The defaults fit most Linux servers: base path /usr/bin and command soffice. Check the Status report (/admin/reports/status). The entry for DOC to HTML must not show an error.
2. Add a file field for the original document
This step is optional but recommended, because it keeps the Word file attached to the article.
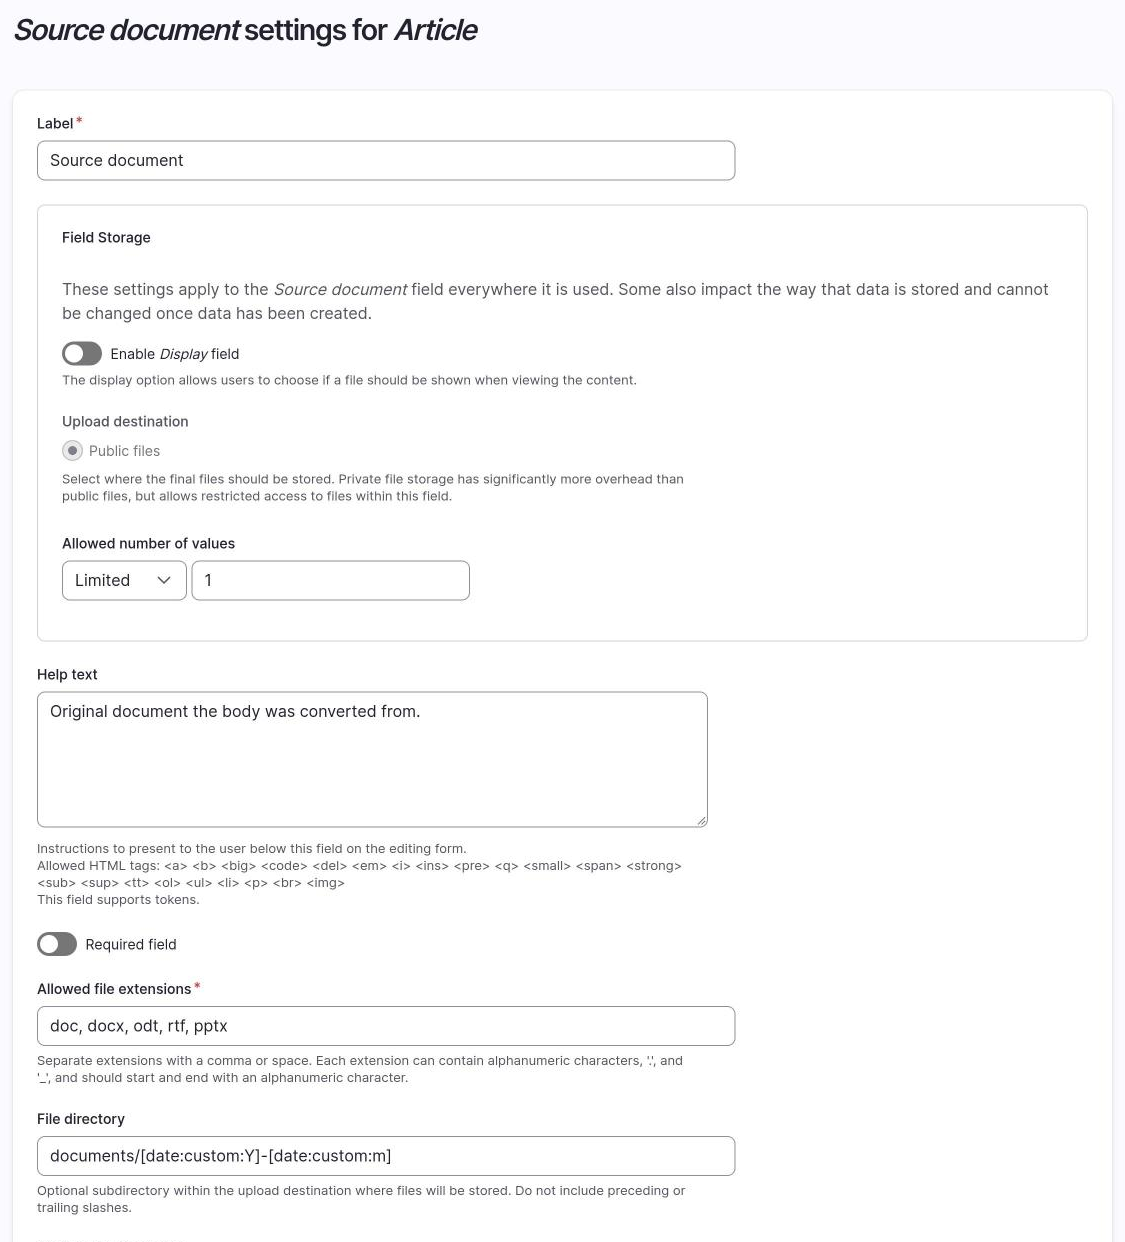
Go to Structure > Content types > Article > Manage fields and add a field of type File:
- Label:
Source document - Machine name:
field_source_document - Allowed file extensions:
doc docx odt rtf pptx
3. Set the DOC to HTML widget on the Body field
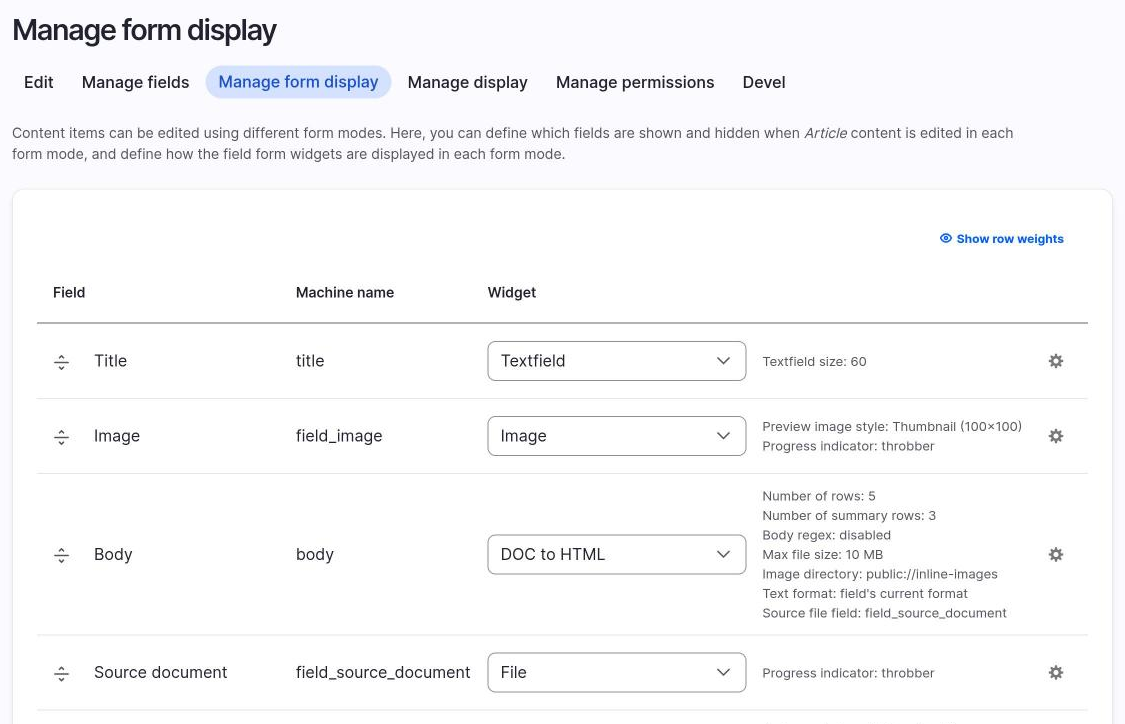
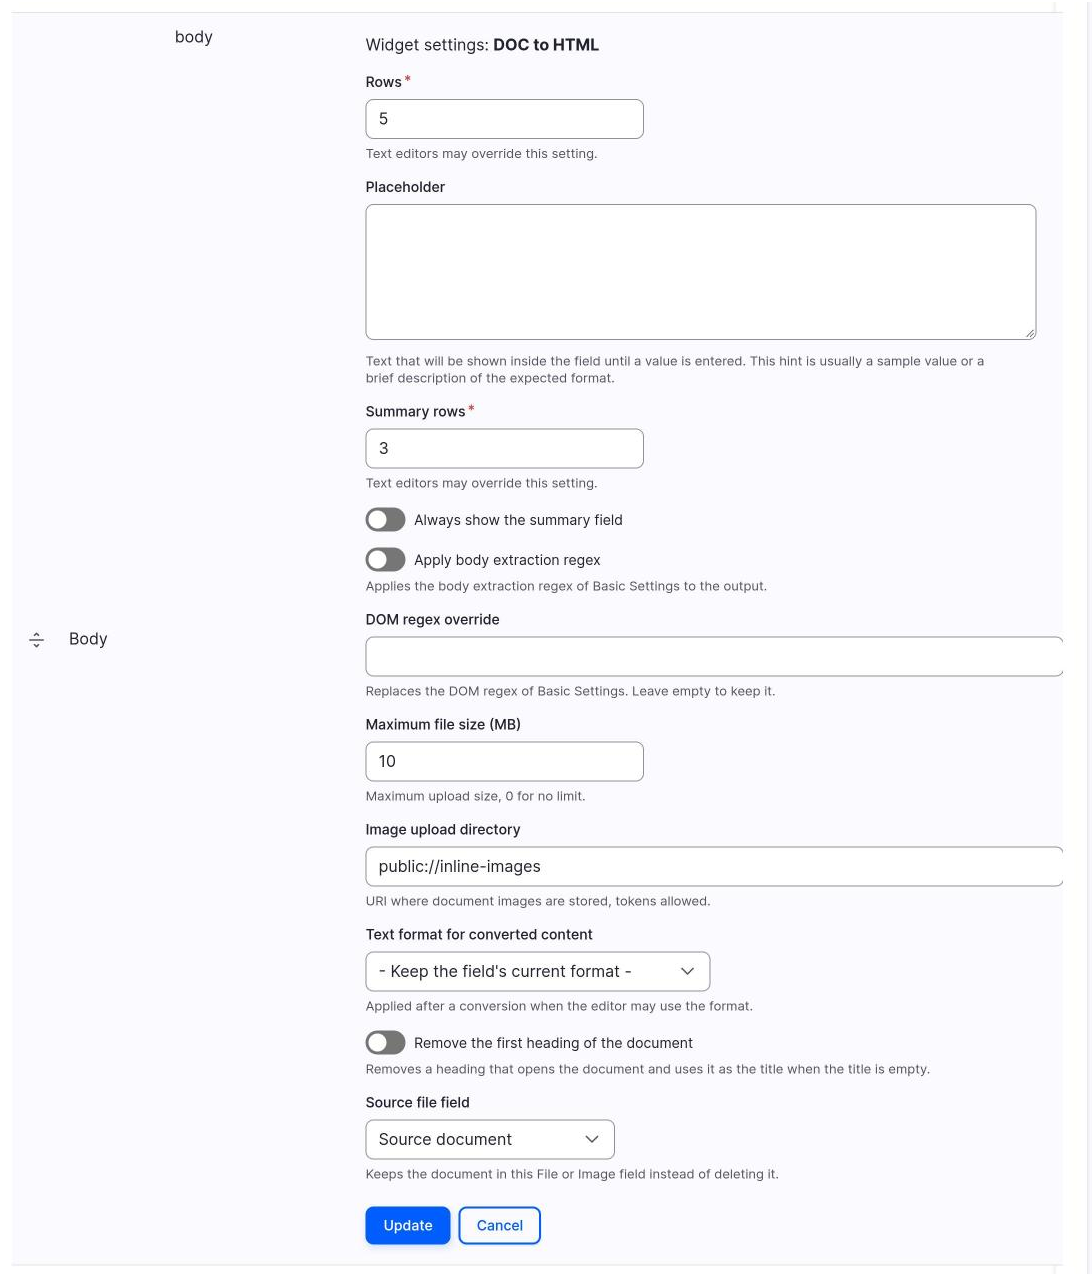
Go to Structure > Content types > Article > Manage form display. For the Body field, choose the widget DOC to HTML, then open its settings with the gear icon:
- Source file field:
Source document. - Text format for converted content: pick the format that allows the HTML you expect, for example Full HTML. The default keeps the field's current format.
- Image upload directory: leave
public://inline-imagesor choose another location. - Remove the first heading of the document: tick it if your documents start with their title. The title of the article is filled from it. See The widget.
Choose the text format
With the default setting the converted HTML lands in the field's current format, which on a new node is the site default, often Basic HTML. The editor then drops what that format does not allow: on a standard site the first-level heading becomes a paragraph and tables are removed. Pick Full HTML, or a format that allows headings, tables and images.
Click Update, then Save.
4. Give the permission
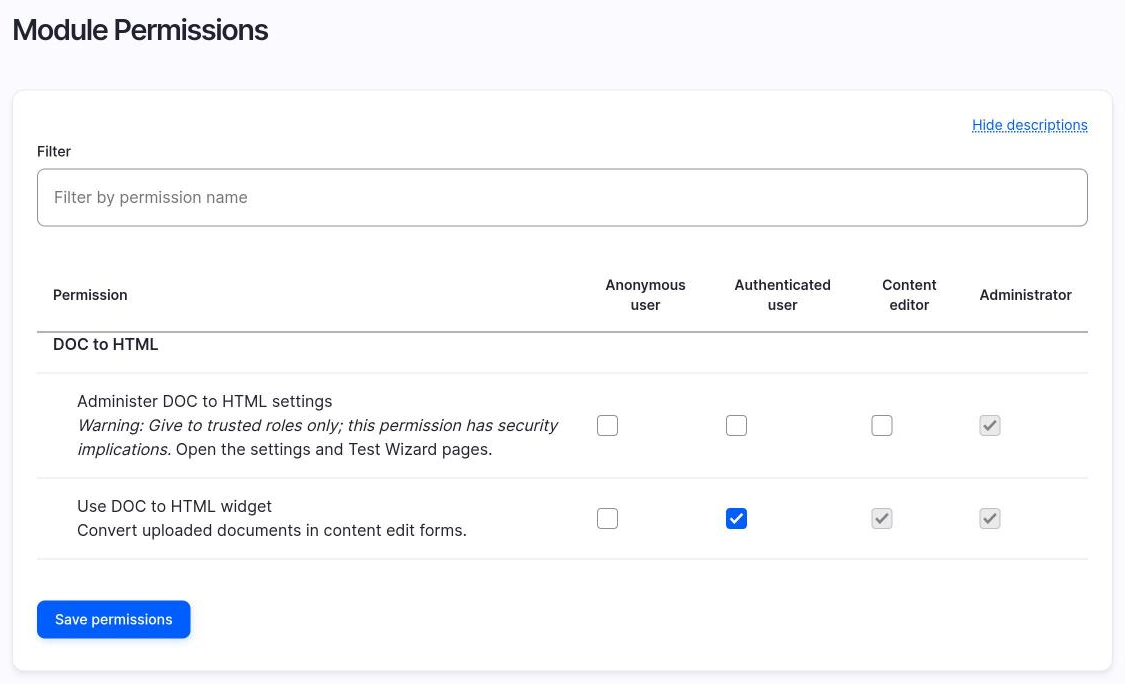
Go to People > Permissions and give Use DOC to HTML widget to the roles that write articles. Sites updated from 2.0.x already have it on the Authenticated role, see Permissions.
5. Create an article from a document
- Go to Content > Add content > Article.
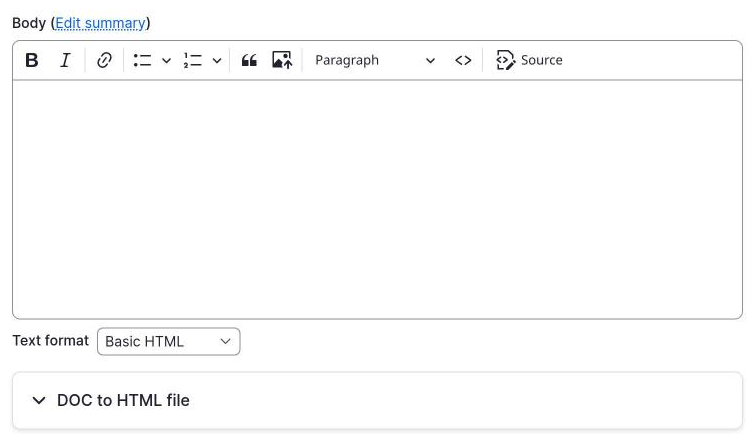
- Under the Body field, open the section DOC to HTML file.
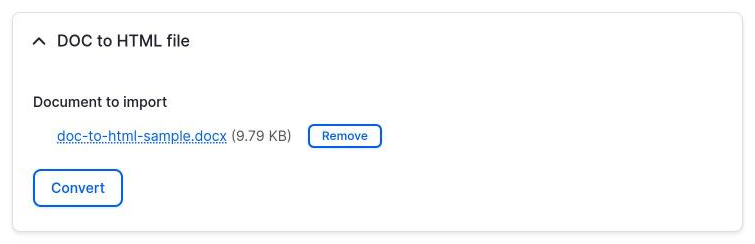
- Upload your document.
- Click Convert.
- Check the HTML in the Body field. Images from the document are in the text.
- Fill in the title, unless the widget fills it from the first heading, and click Save.
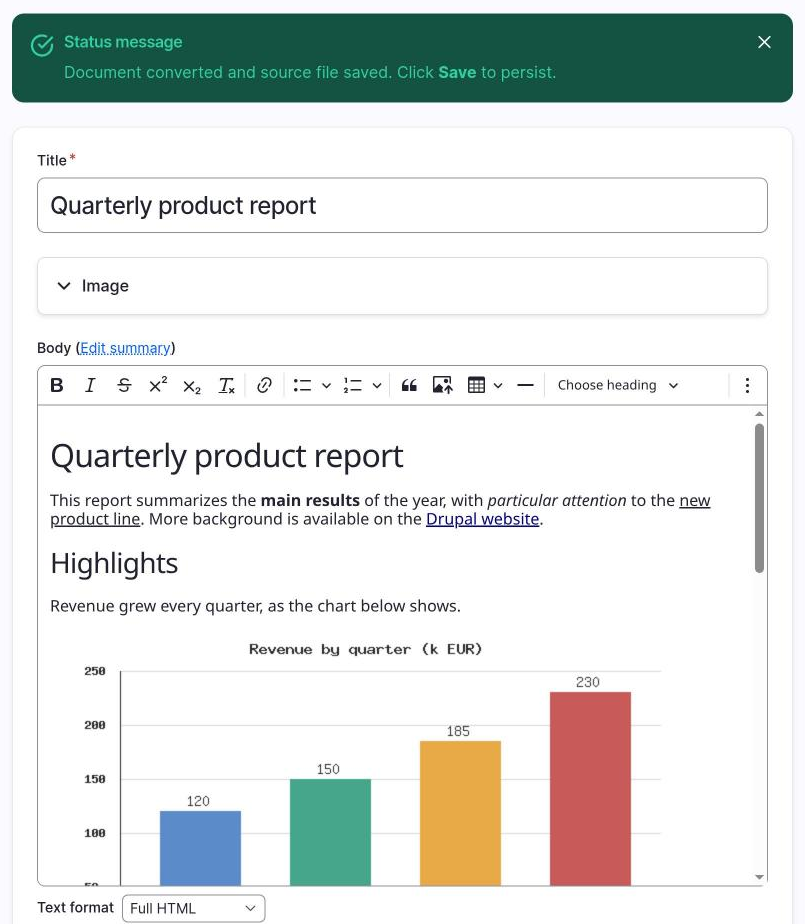
Convert does not save the node. Until you click Save, nothing is stored.
6. Check the original document
Open the saved article. The original file is attached to the Source document field and can be downloaded from the node.
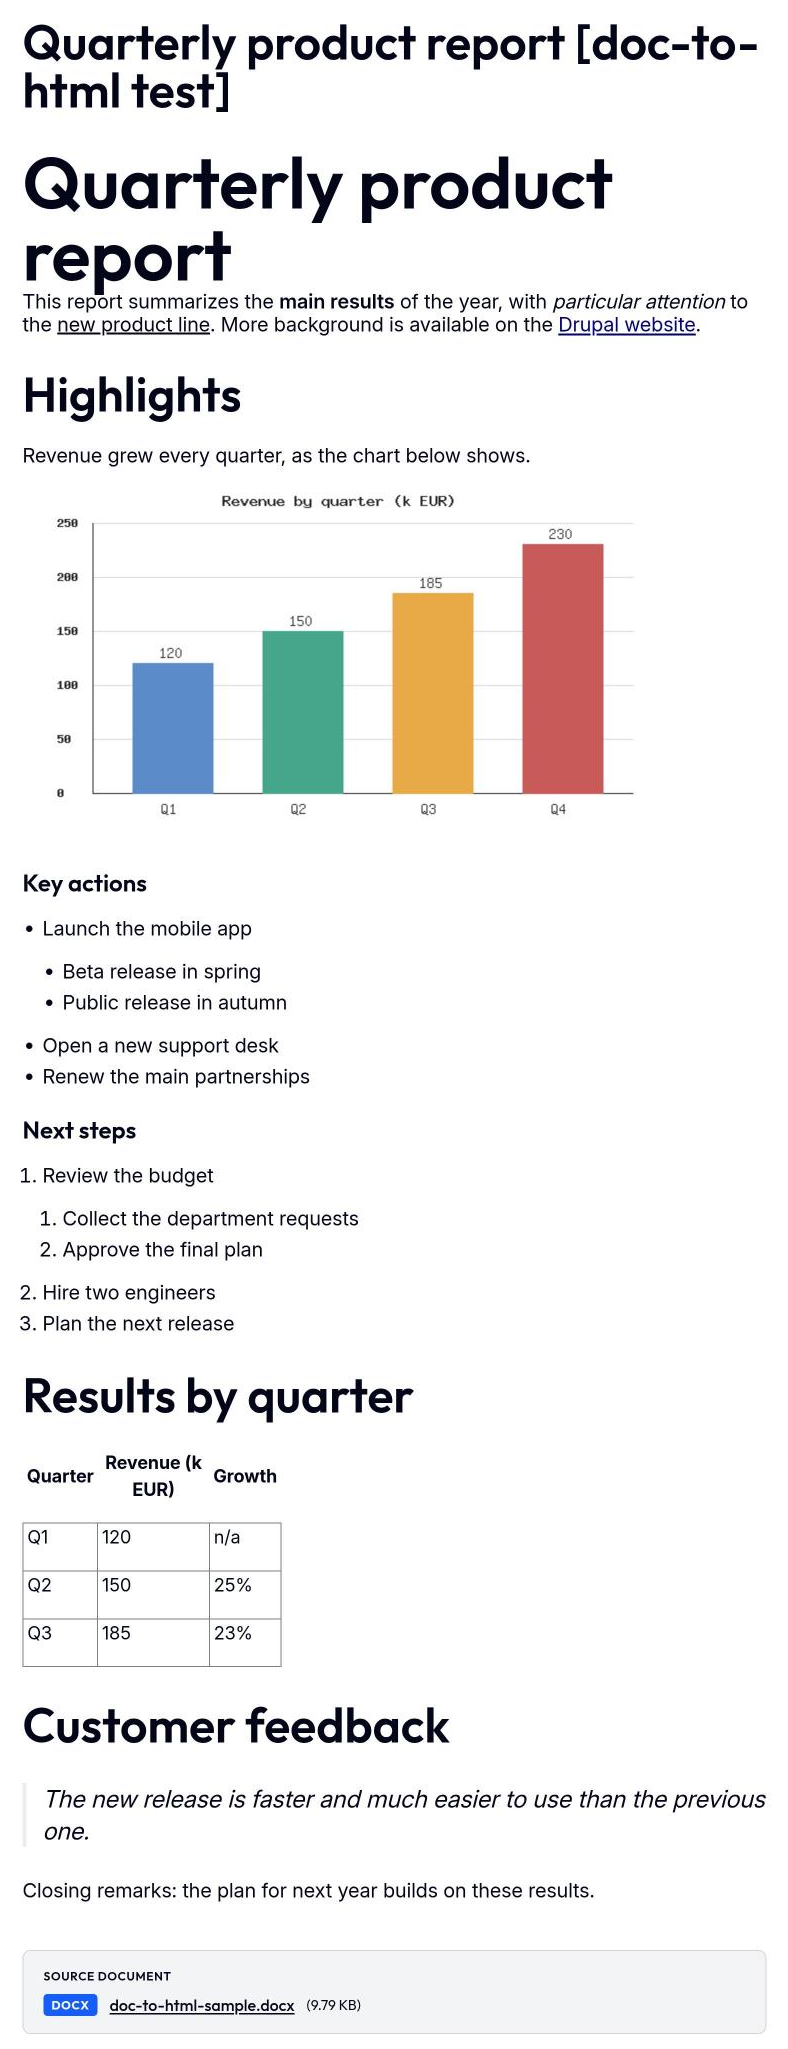
7. Show the converted articles on a page
This step is optional. It builds a view with two pages, so you can compare the converted text with the original document.
Go to Structure > Views > Add view and create a view with:
- View name:
DOC to HTML examples, machine namedoc_to_html_examples. - Show: Content of type Article, sorted by newest first.
- Filter: Source document (field_source_document:target_id) is not empty, and Published is Yes.
- Fields: Title (linked to the content), Authored on and Body.
Create a page at /doc-to-html/examples/html with 10 items per page. Duplicate the page at /doc-to-html/examples/html-with-file and add the field Source document under the Body.
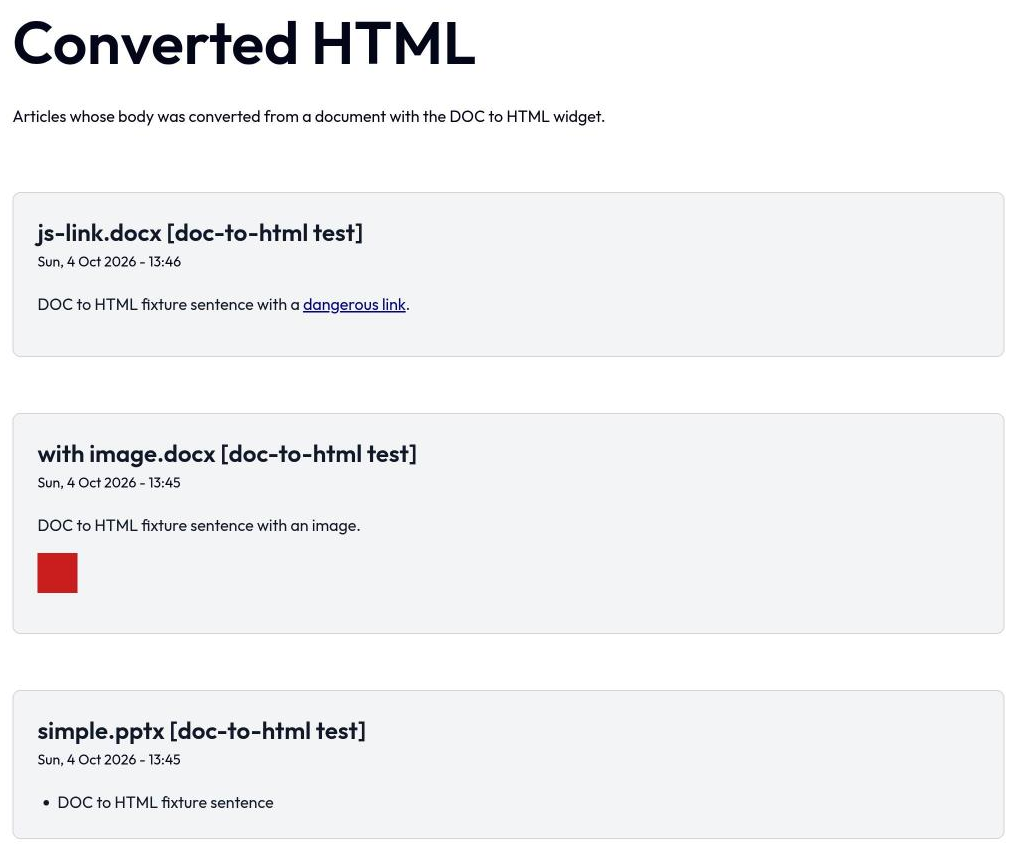
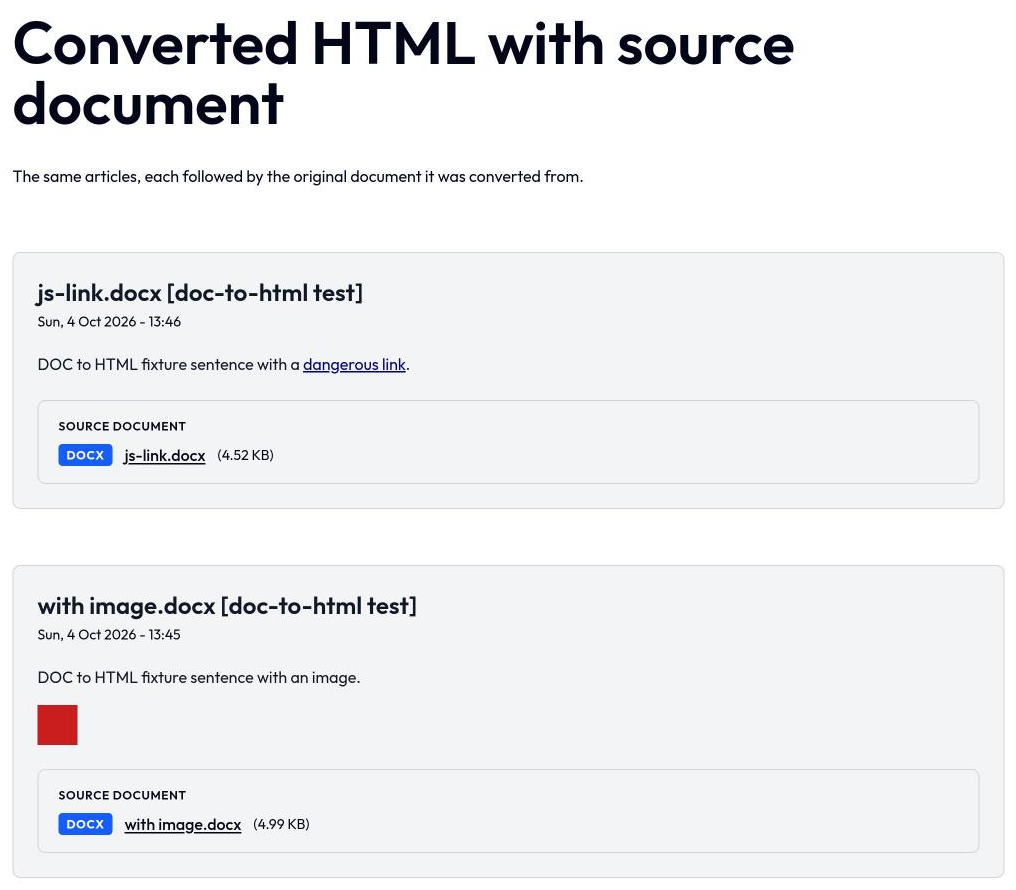
The first page shows only the converted HTML. The second shows the same articles with a link to the original document, which is the document you uploaded.
Next steps
- Configuration for the admin pages and the Test Wizard.
- The widget for all widget settings.
- Theming to style the converted content on the page.
- Troubleshooting if the conversion fails.