Set up Drupal CMS
Let's walk through the Drupal CMS setup process.
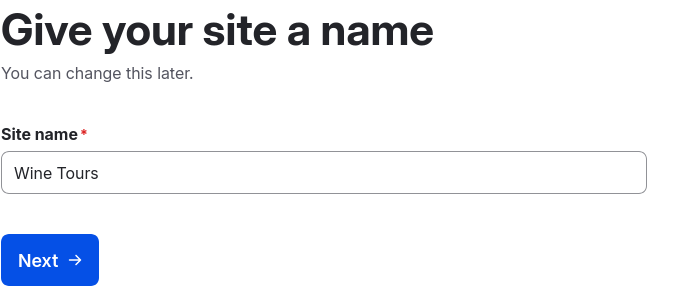
Enter a name for your site or keep the provided default name. This name will be displayed in the header area of the default theme. You will be able to update the site name later.
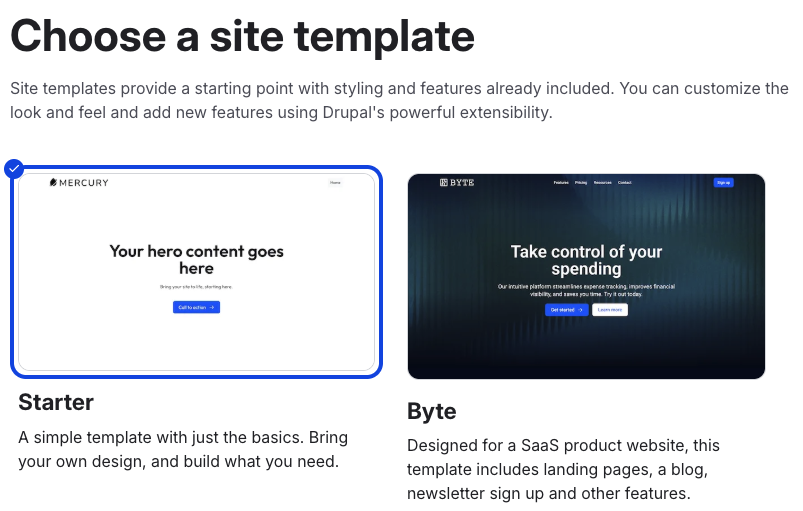
Choose your site template. Site templates are complete, configured starting points for your Drupal website. Each site template comes with its own design, content types, and features already set up.
Drupal CMS offers a growing list of site templates provided by the community and other creators. Starter gives you the least out of the box: a plain foundation you build up yourself. Byte is built around an SaaS product marketing website. Others are aimed at non-profits, portfolios, schools, healthcare sites, and more. Take a moment to read through the options and choose a template that fits your needs.
Whichever you pick shapes the site you end up with. A template decides which content types you get, how your site looks, and what demo content is there to explore. So if you choose something other than Byte, what you see on screen won't always match the screenshots and examples in the rest of this guide. The ideas are the same; the names and content may differ.
And remember, a site template is just a starting point. After Drupal is installed, anything and everything is yours to customize.
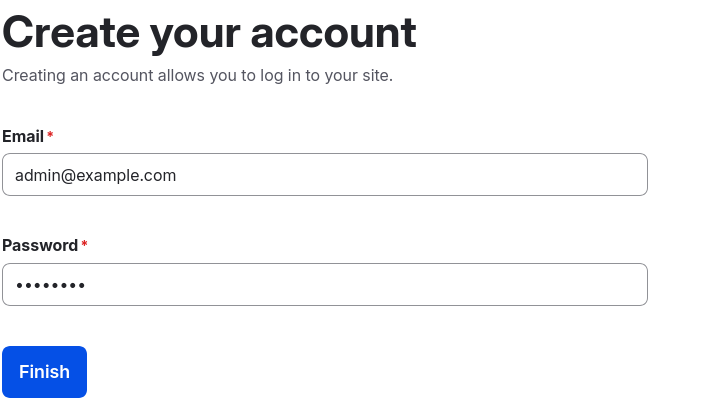
Enter an email address and password to create the account you will use to administer your site. You'll be able to invite colleagues to create their own accounts later, after you've moved your site from your computer to a hosting provider where they can access it, too.
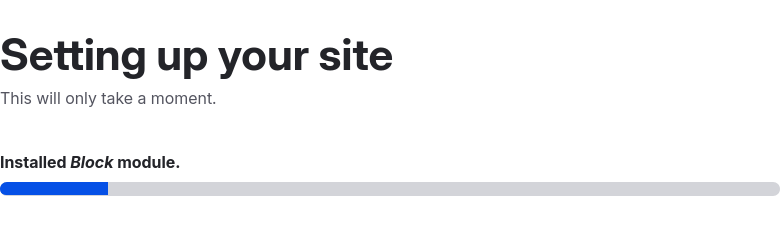
After running the setup process, you'll be directed to the Dashboard. See the Top tasks to get started building your new site!